Post by: blbiker56 on May 27, 2014, 09:56:49 PM
 $175 but it did not run at the time of me picking it up.
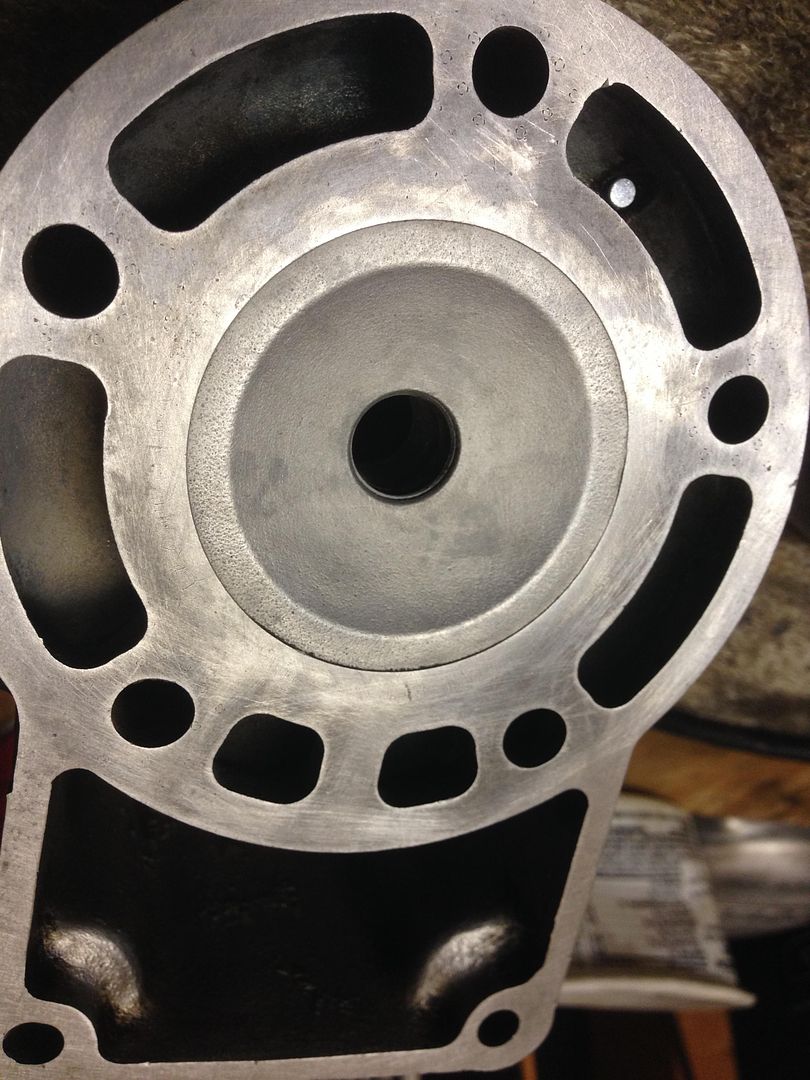
 so i popped open the engine and found that the bike had been over bored to 55.5 mm and the guy tried to put a 54 mm piston in the bike, (I guess this is why it didnt run lol) Luckily the cylinder wasnt scored at all and the bike only needed a good hone to get her back in tip top shape. I ordered a Wiseco over-sized piston and the crank shaft seemed to be perfectly in spec with no play in the shaft, the rod actually looks like it is brand new!
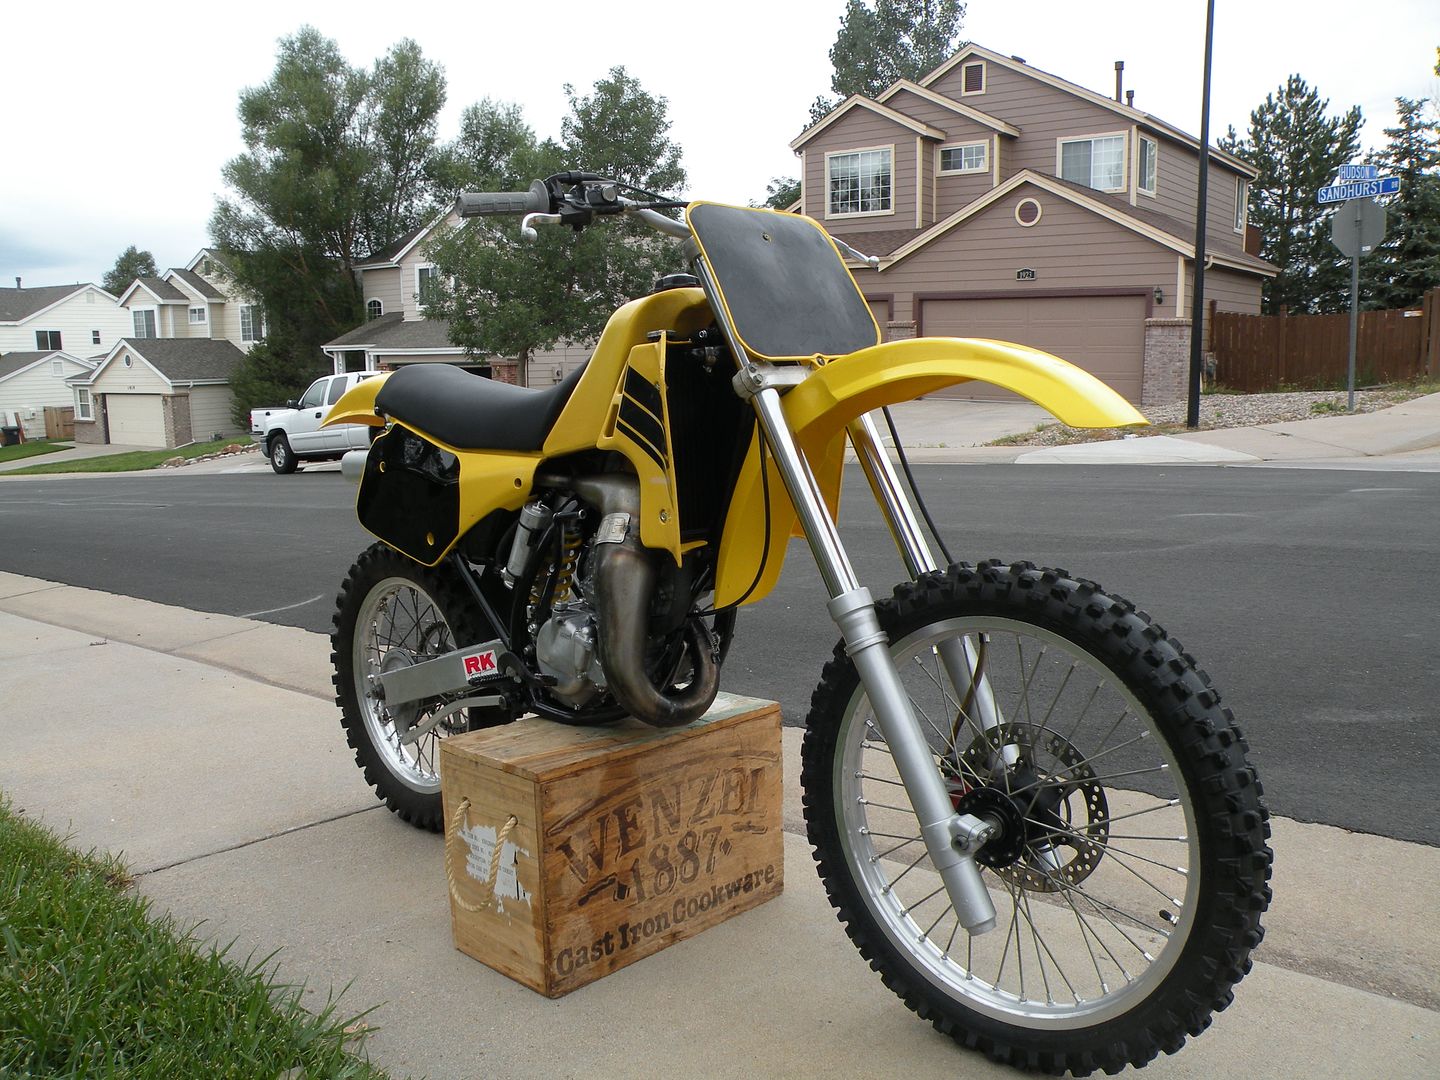
So initially I though that I would have this bike just for my wife to learn to ride, but the more I worked on it, the more I fell in love with this bike. So I have come to the conclusion that I will be restoring this bike back to new again, but I will be changing just some minor details along the way.
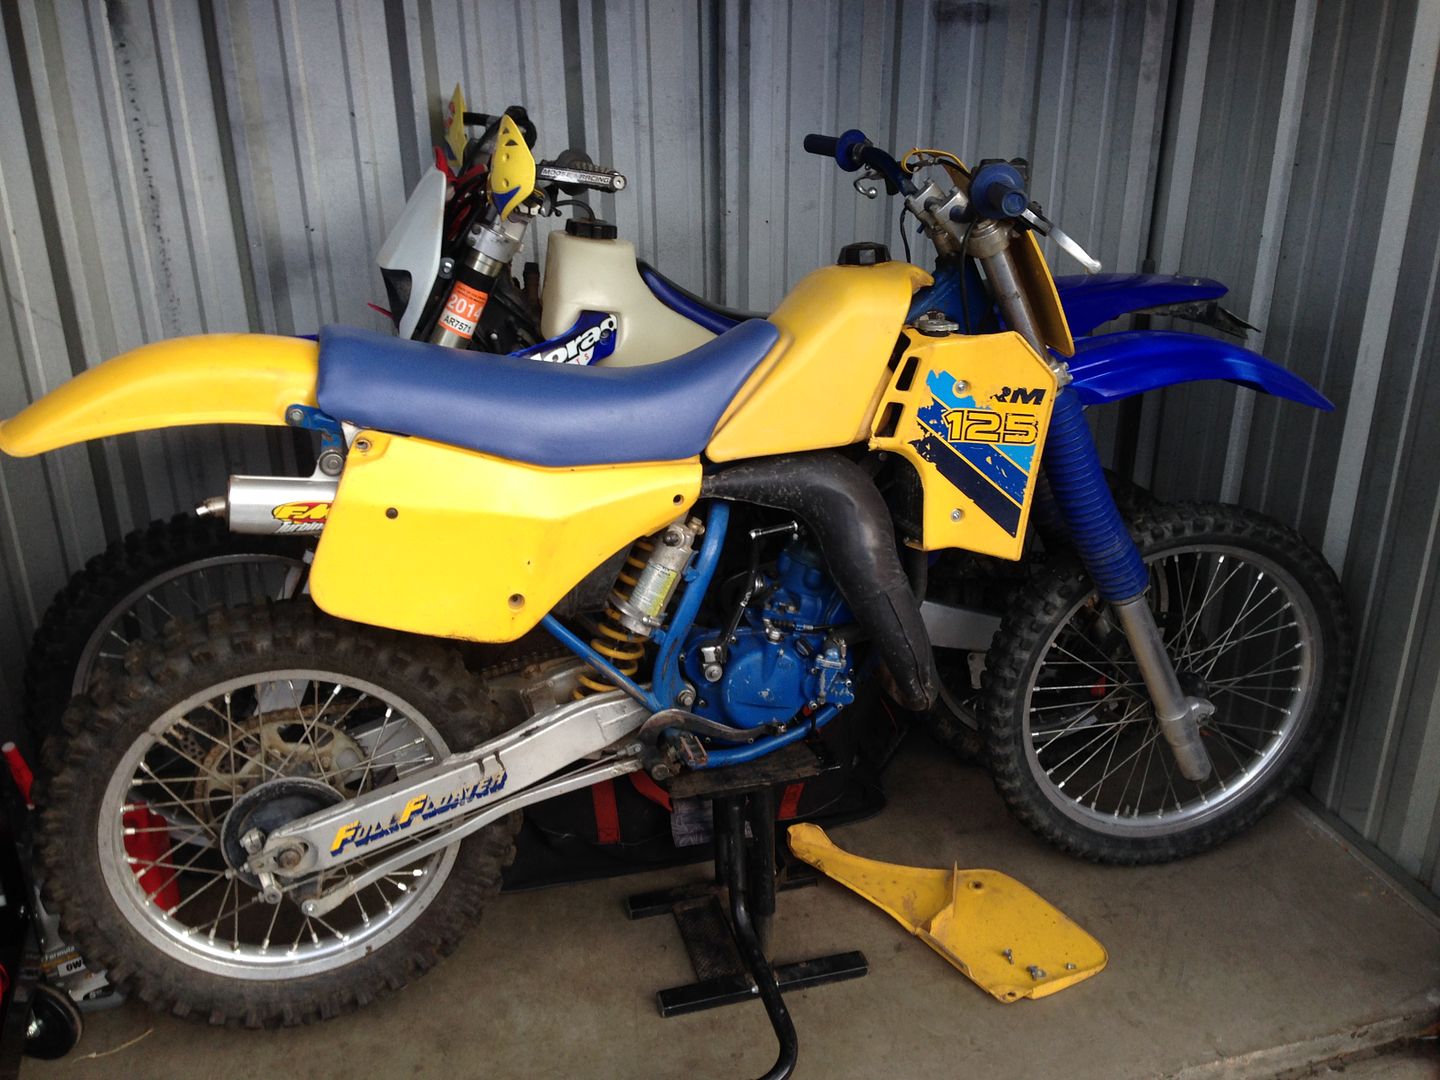
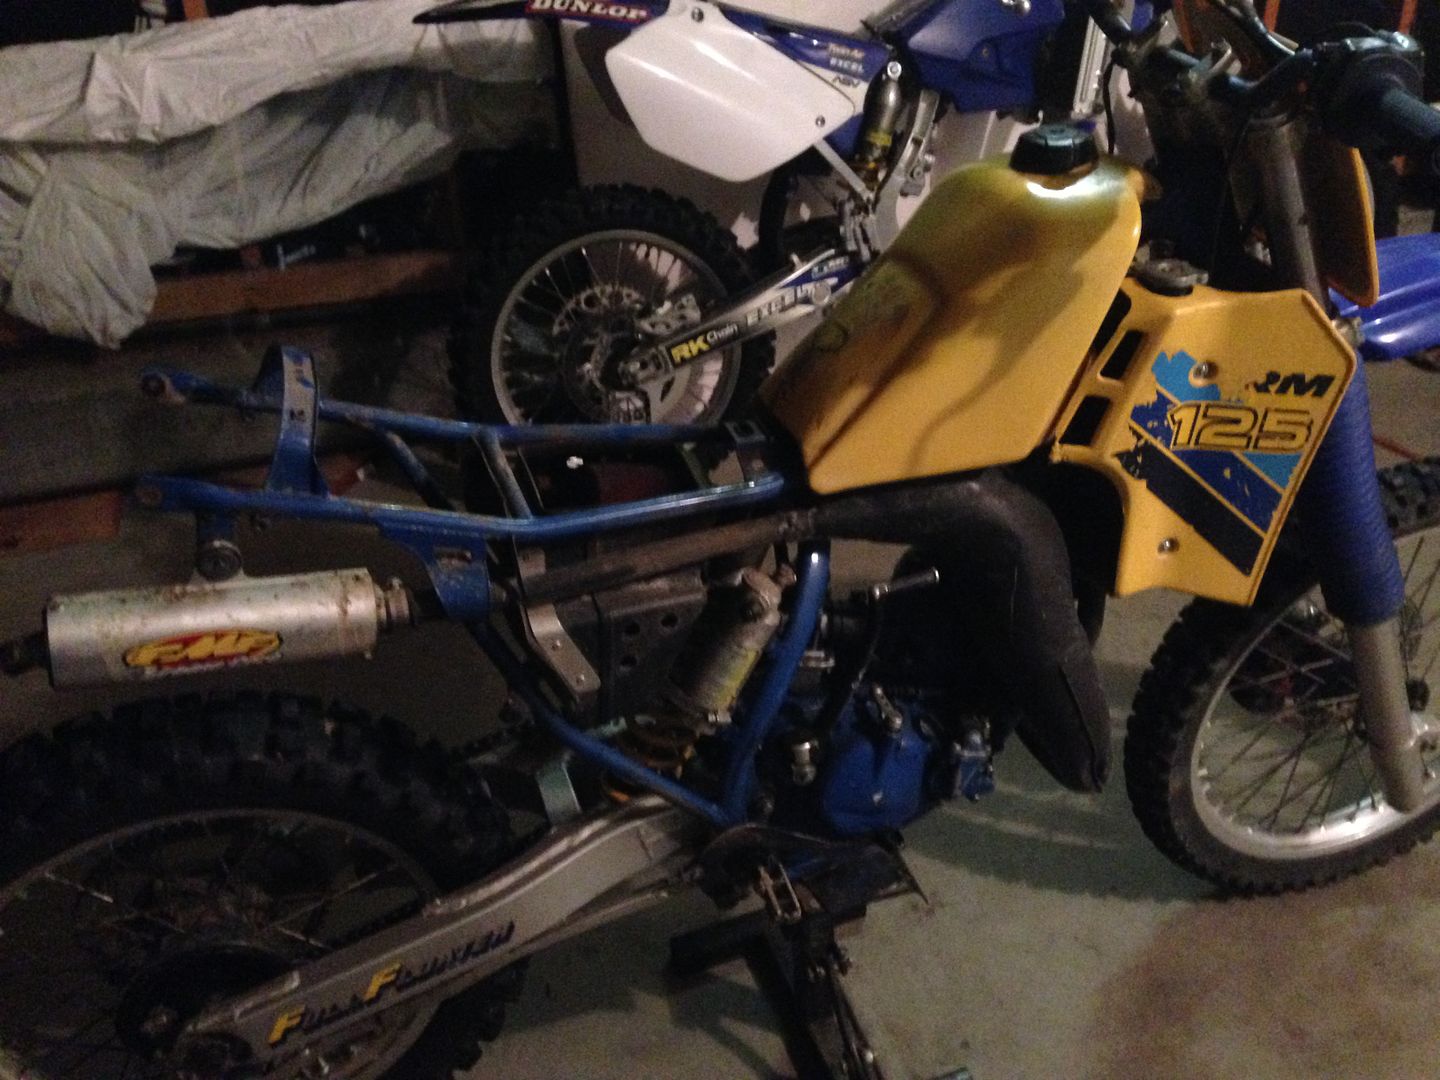
Here is the sleeping beauty put away from last winter and ready to enjoy a nice little refresh, and some tear down pics.
Post by: _X_ on May 27, 2014, 10:06:49 PM
Post by: Stusmoke on June 20, 2014, 10:12:49 PM
Fork seal leak much?
Theres a fork seal in there?
Post by: blbiker56 on June 22, 2014, 04:00:07 AM
Fork seal leak much?
Theres a fork seal in there?
Well I now know there was a fork seal in there, the oil was completely black, and I have no clue when the last time the fork seals were replaced

Post by: blbiker56 on June 22, 2014, 04:10:40 AM
 .
.But I am back and I have done quite some work on the bike.
So I did a little work to the bike this past weekend, and I am finally updating the post.
The carburator was dirty and full of pre-mix oil in the float, so I started to do a full rebuild. I purchased a carb rebuild kit that came with all new seals, but before I rebuilt the carburator it was in desperate need to have a little cleaning performed on it, so I soda blasted the carb (which turned out really nice) and then put her back together.
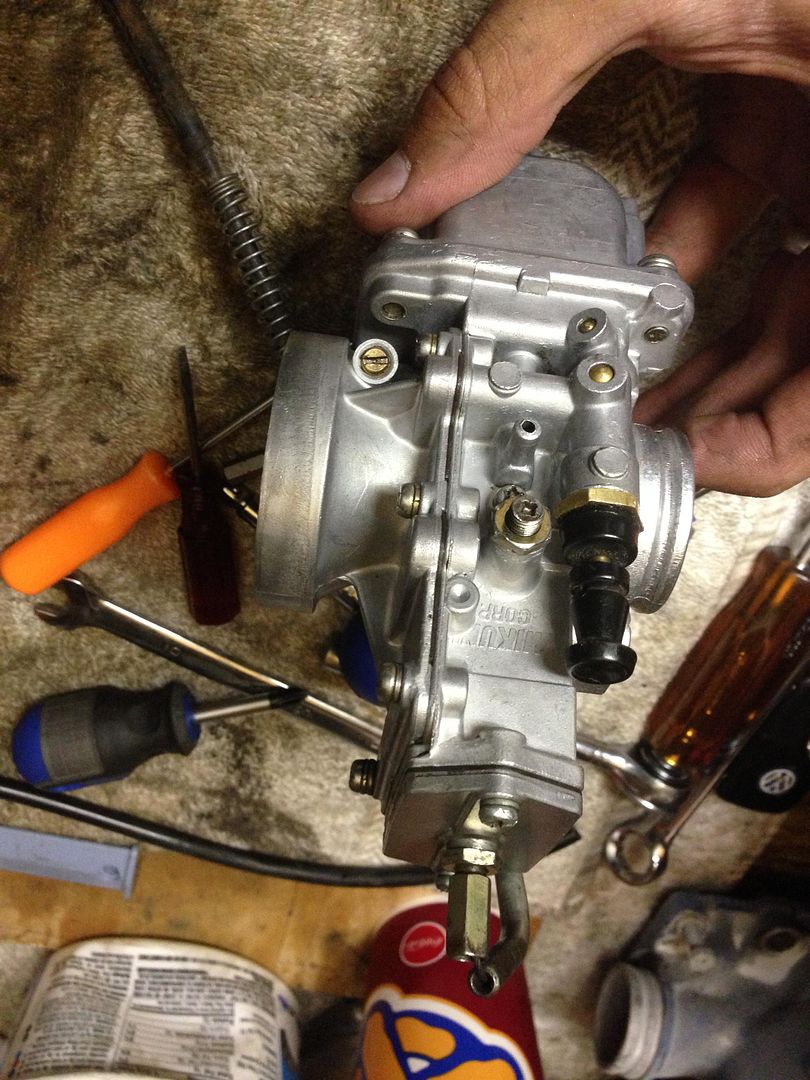
JETTING- can someone help me with getting the jetting right for a 1986 rm125, high altitude?
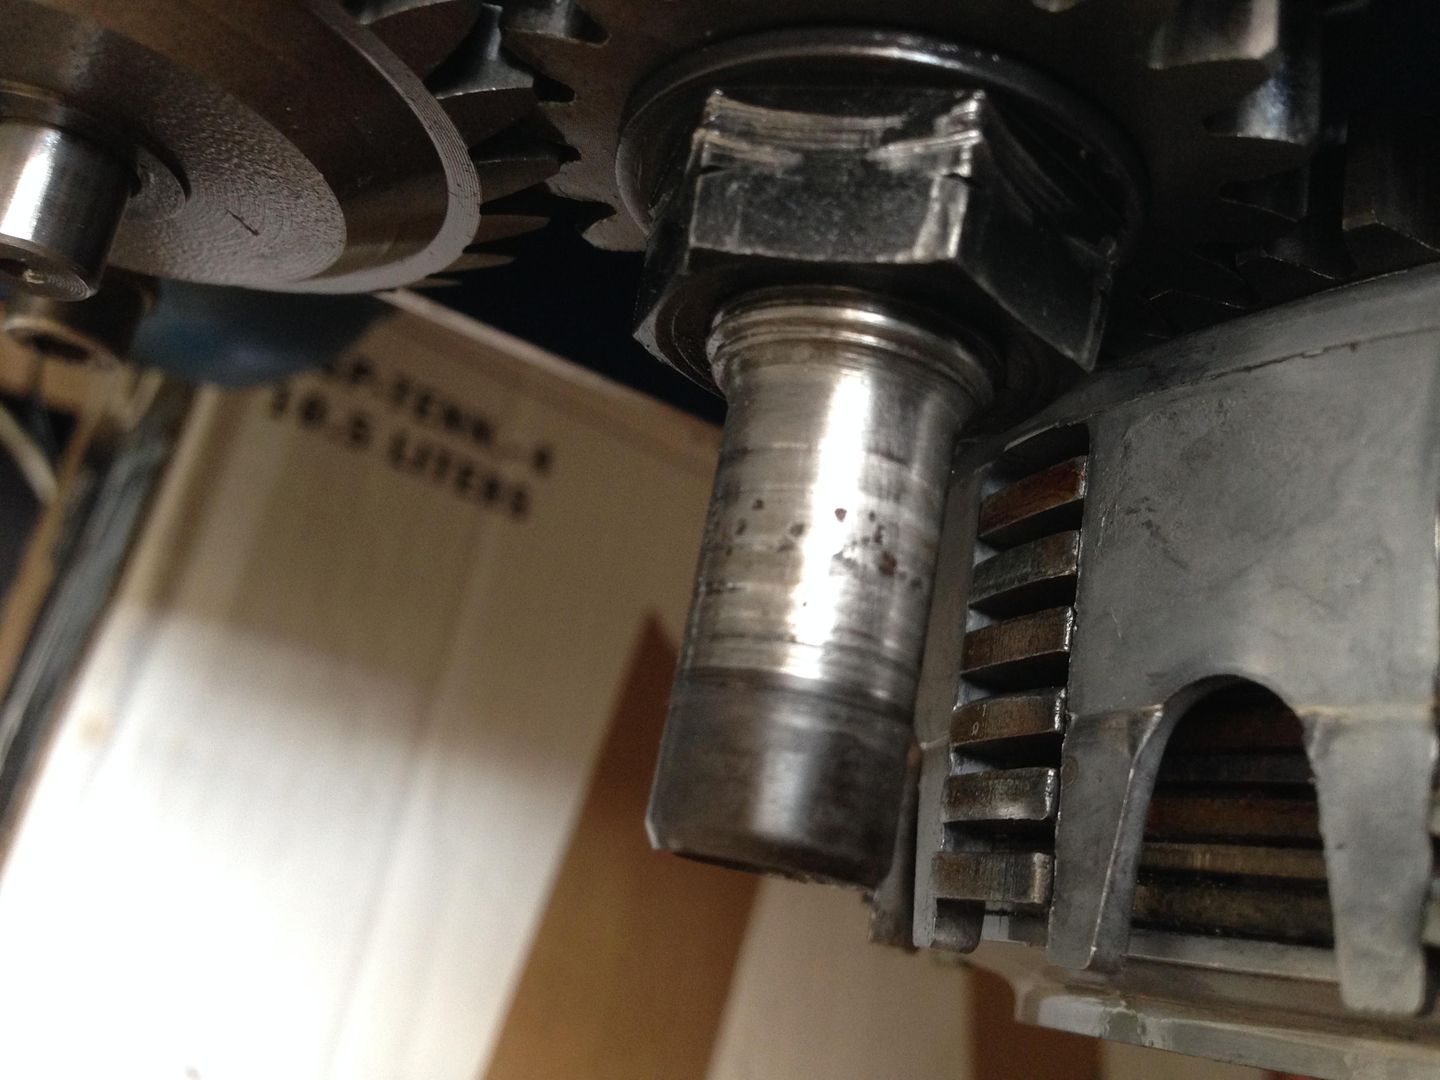
This is the main reason for a copmlete engine rebuild. You can see the pitting and groves on the crank shaft before polishing it. I had the shop down the street help me polish this, Wane helped me with a lathe and crank shaft polisher. Turned out pretty good, hopefully this will fix the issues.
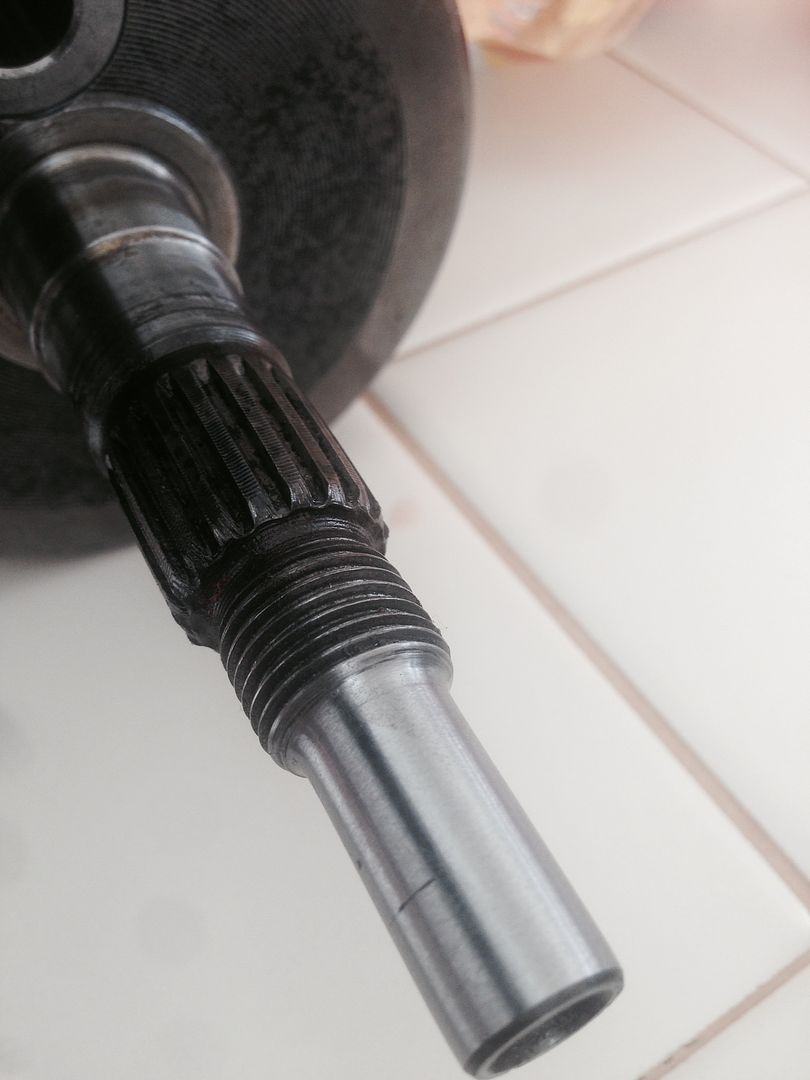
Here is it after the polish,, You can see one little grove that Wane just could not get out of the crank shaft, but it is so tiny that it will not be an issue. But now this thing is almost brand new, and has a new connecting rod as well.
Post by: blbiker56 on June 22, 2014, 04:19:54 AM
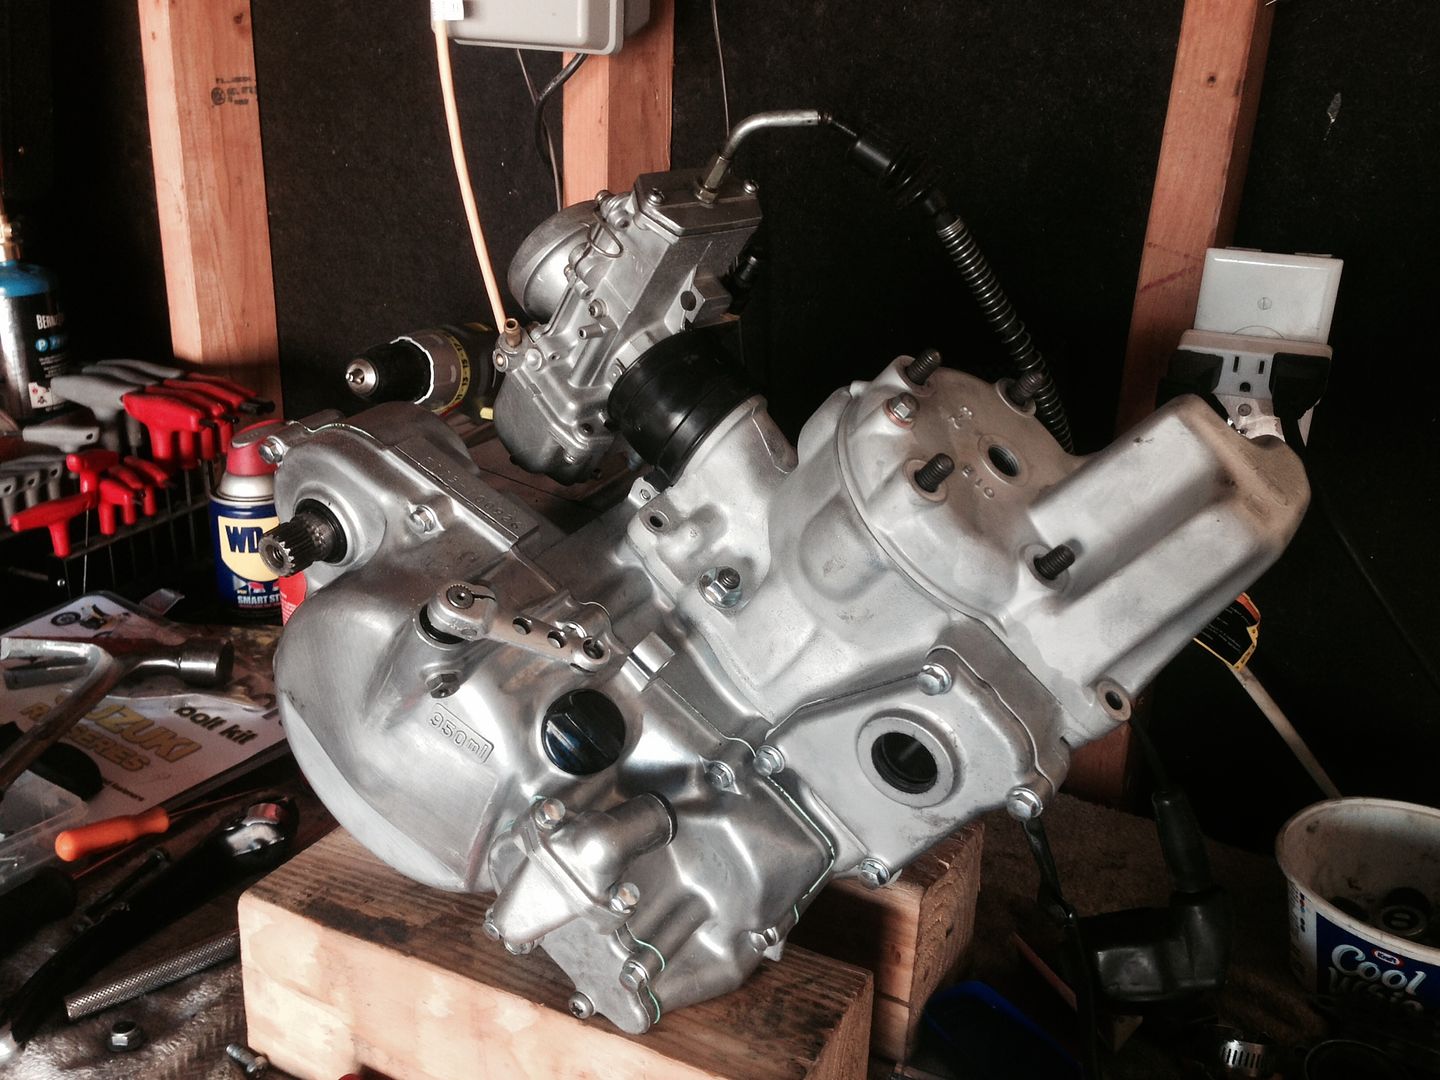
I was able to find a complete engine oil seal kit that I will be installing on the bike. This will give the bike a brand new look and provide the benefits of a completely leak-less engine
The kit also came with all copper washers to replace as well. All o-rings have also been replace.I cant wait to get this engine going and hear it run for the first time.
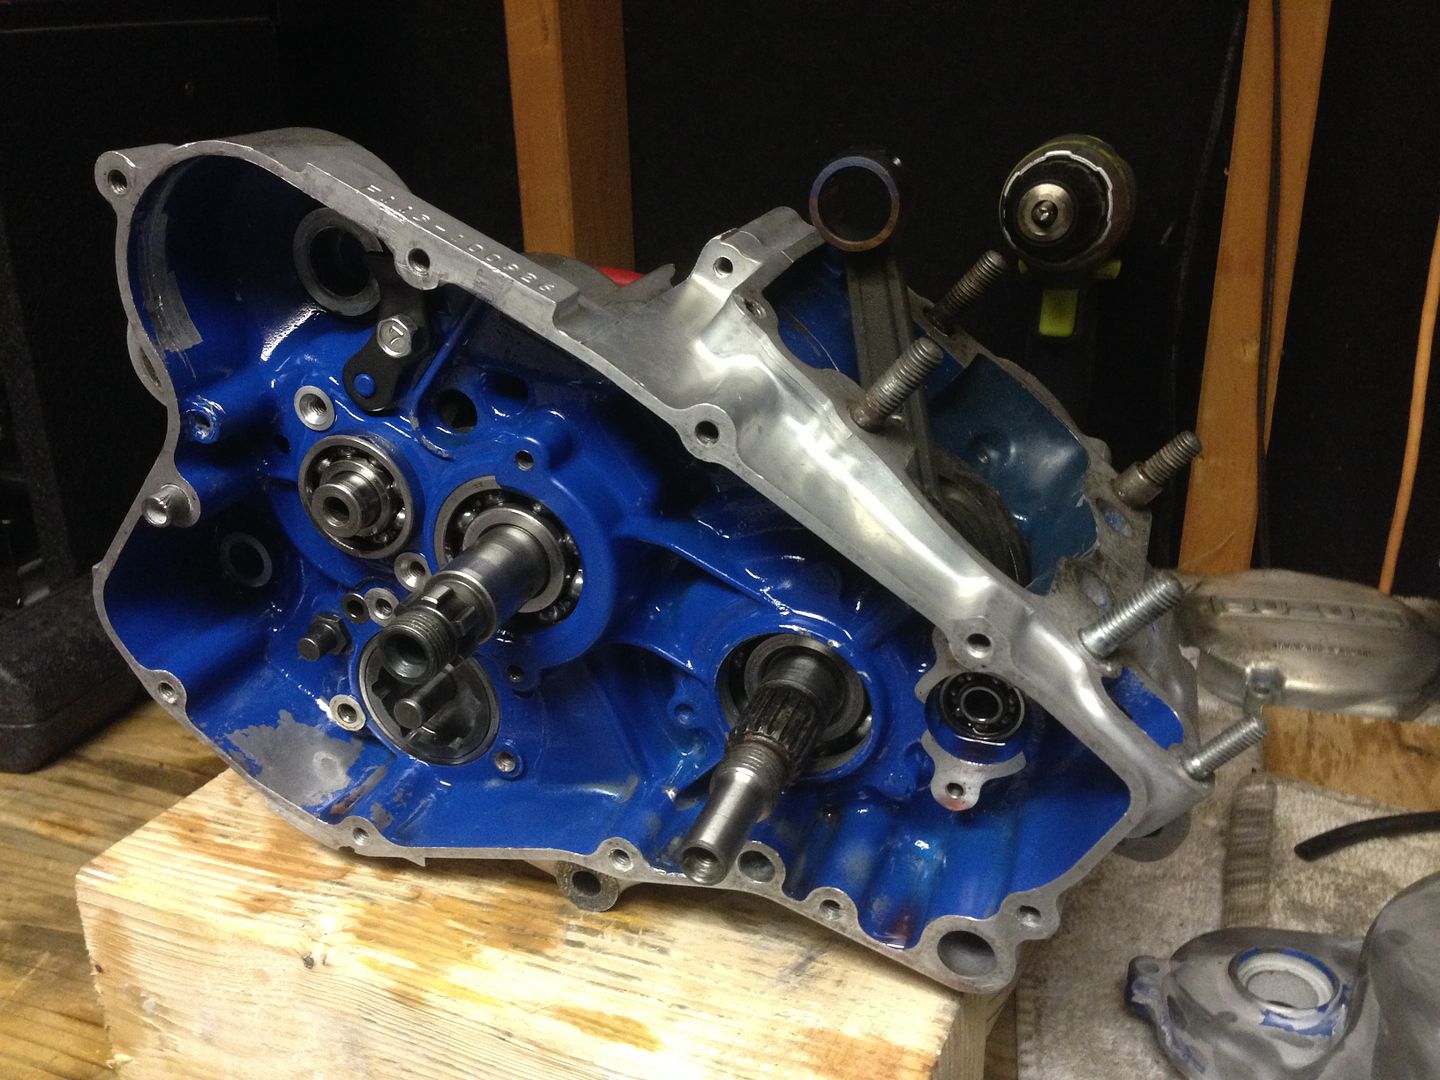
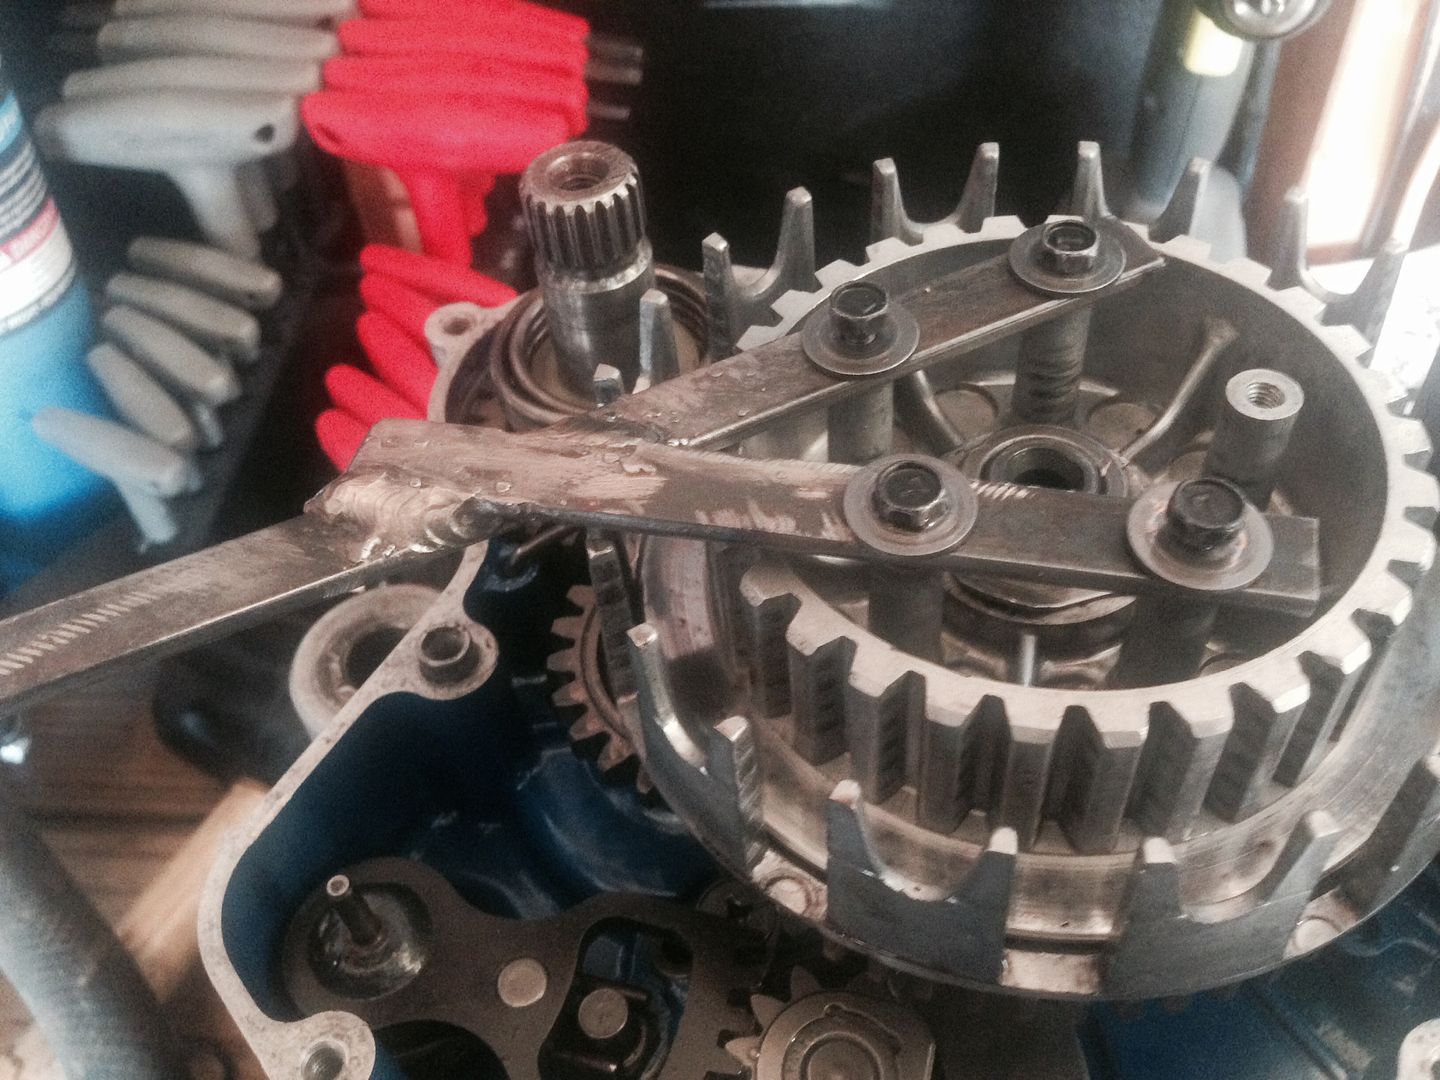
I was able to get the clutch side of the engine assembled and cleaned up. My clutch tool had a hard time getting in between the clutch basket, so I was able to fabricate up a nice little tool from some left over little steel. Gave me a reason to use my new flux core welder, tuned out pretty good looking for a flux core if you ask me.
Post by: blbiker56 on June 22, 2014, 04:21:54 AM
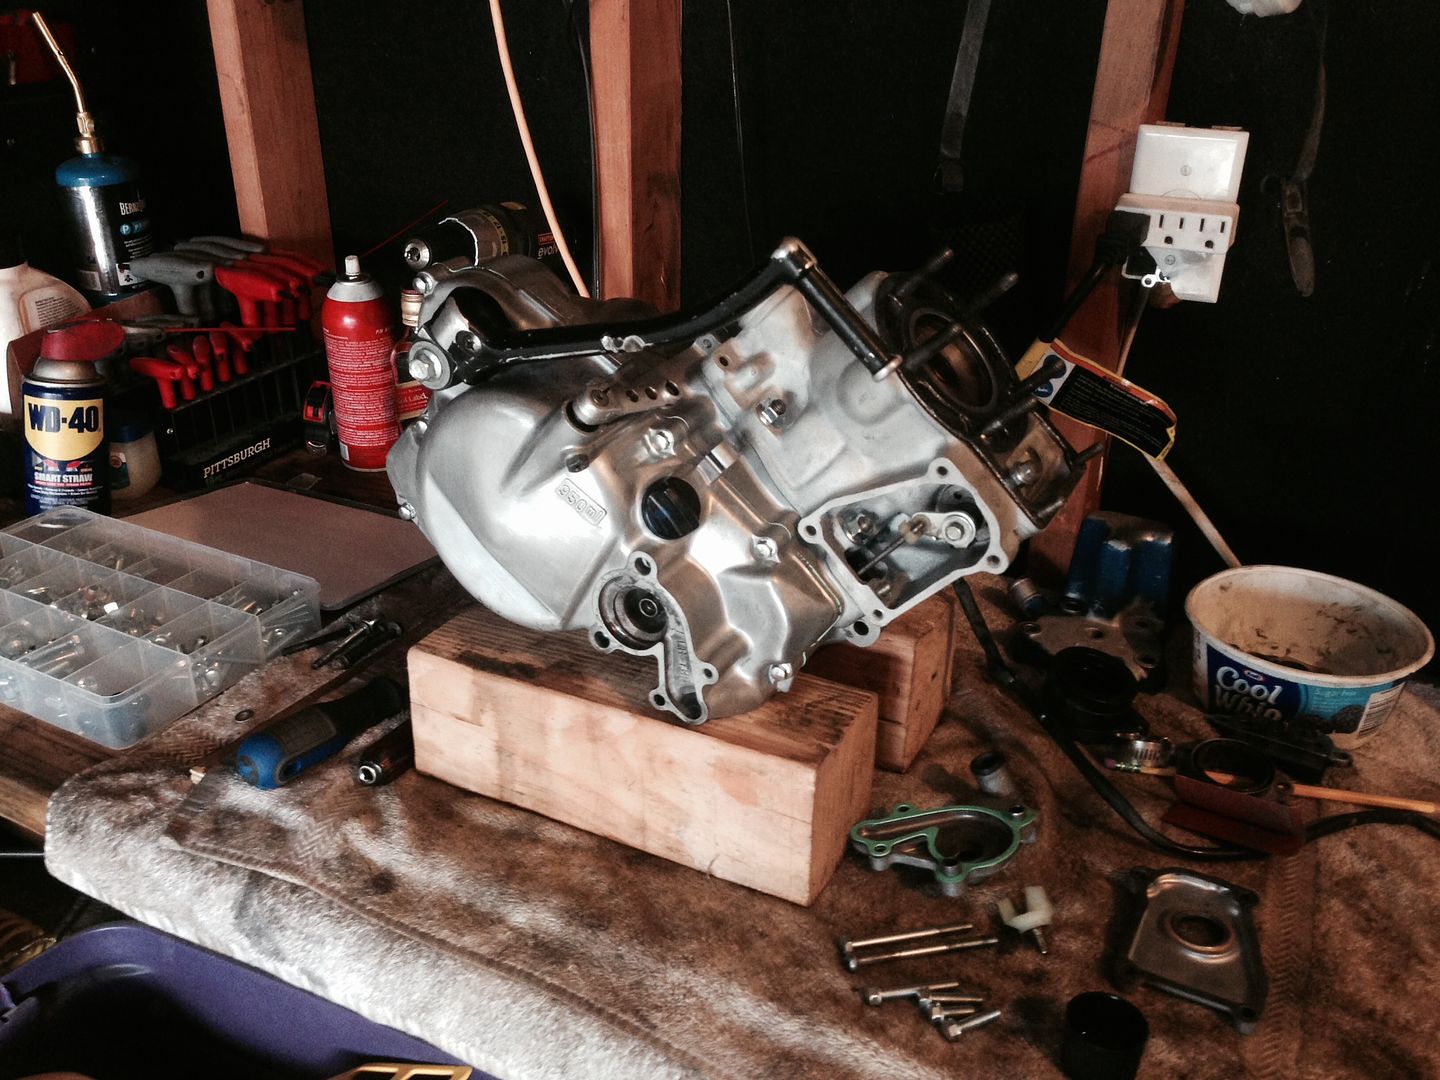
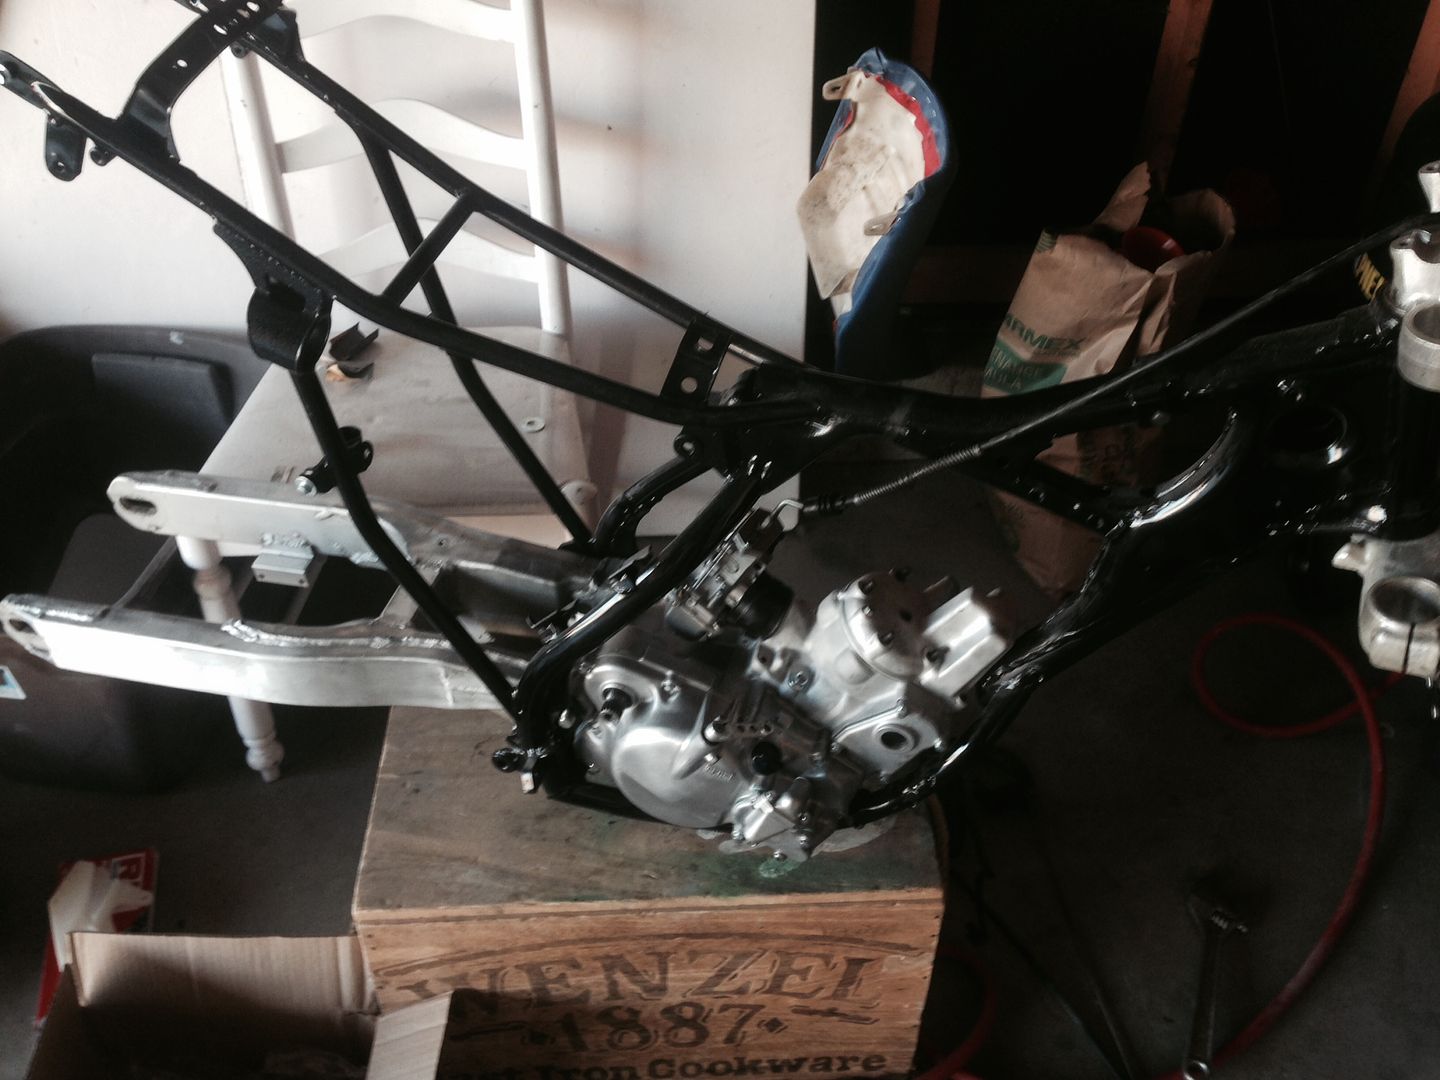
Engine Complete and ready to be mounted...
Post by: shanes on June 22, 2014, 05:29:35 AM

Post by: TMKIWI on June 22, 2014, 09:39:11 AM
Post by: Coop on June 25, 2014, 12:36:43 AM
Post by: Stusmoke on June 25, 2014, 04:45:53 AM

Post by: blbiker56 on June 25, 2014, 03:25:40 PM
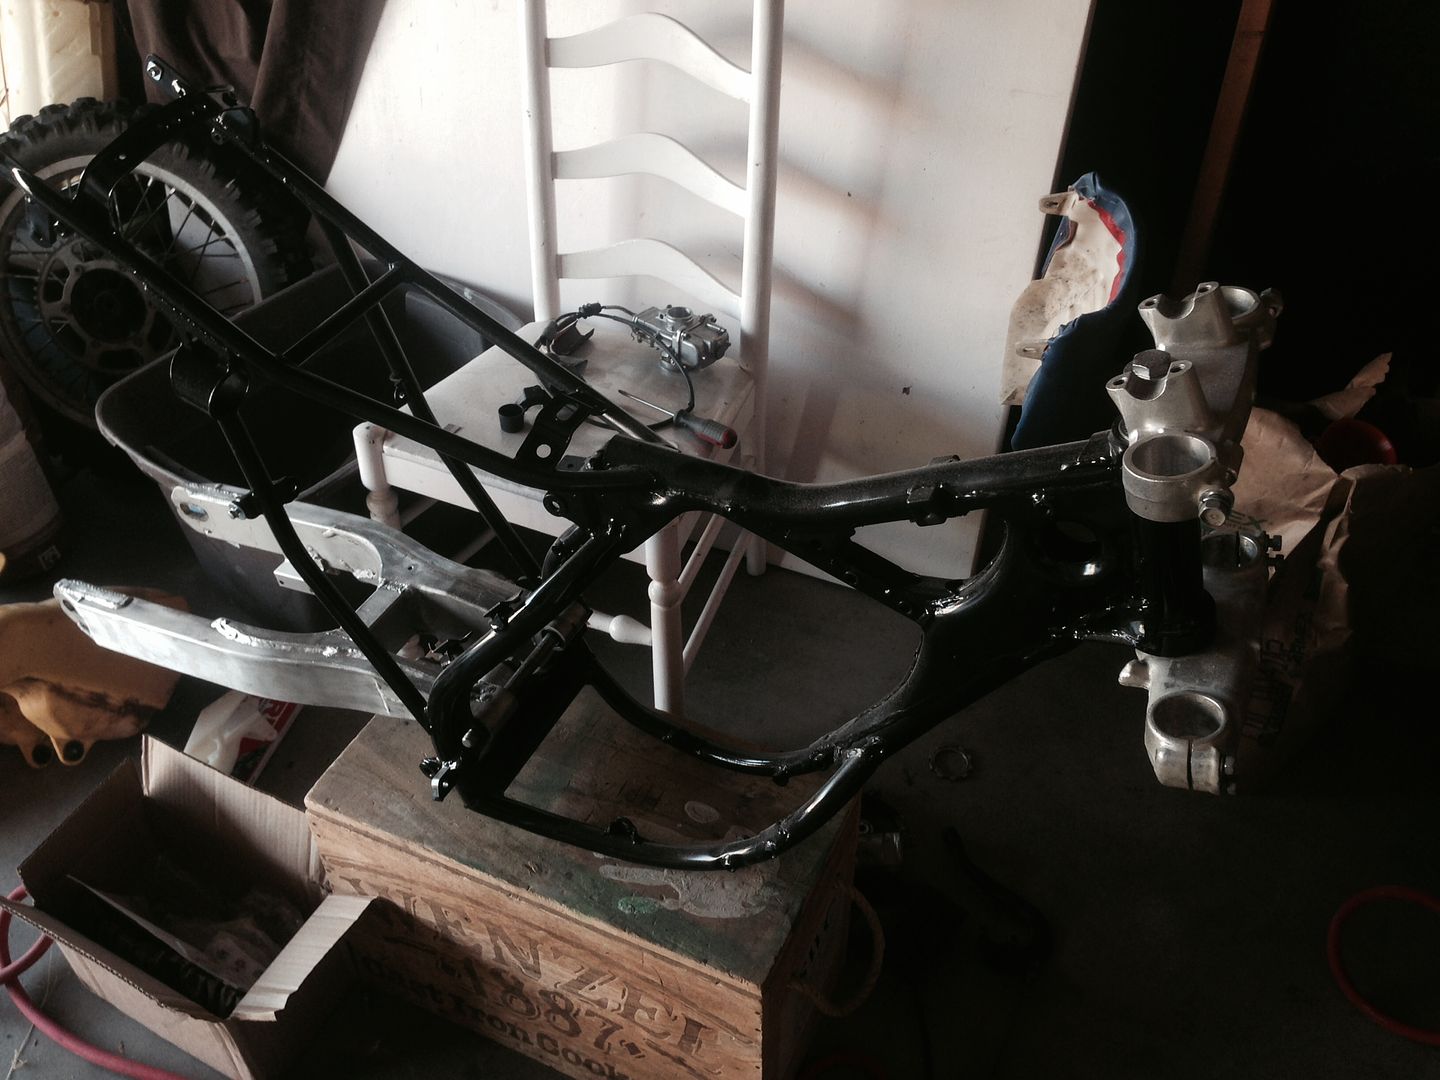
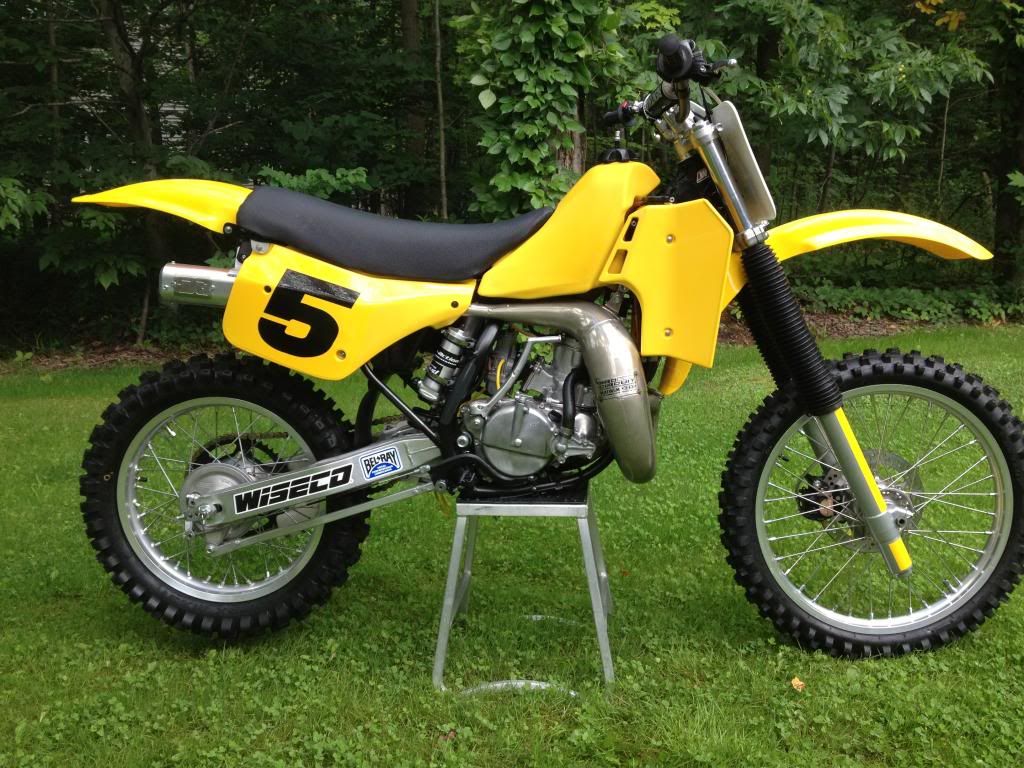
Very wiz bang mate, but black frame? No candy blue?
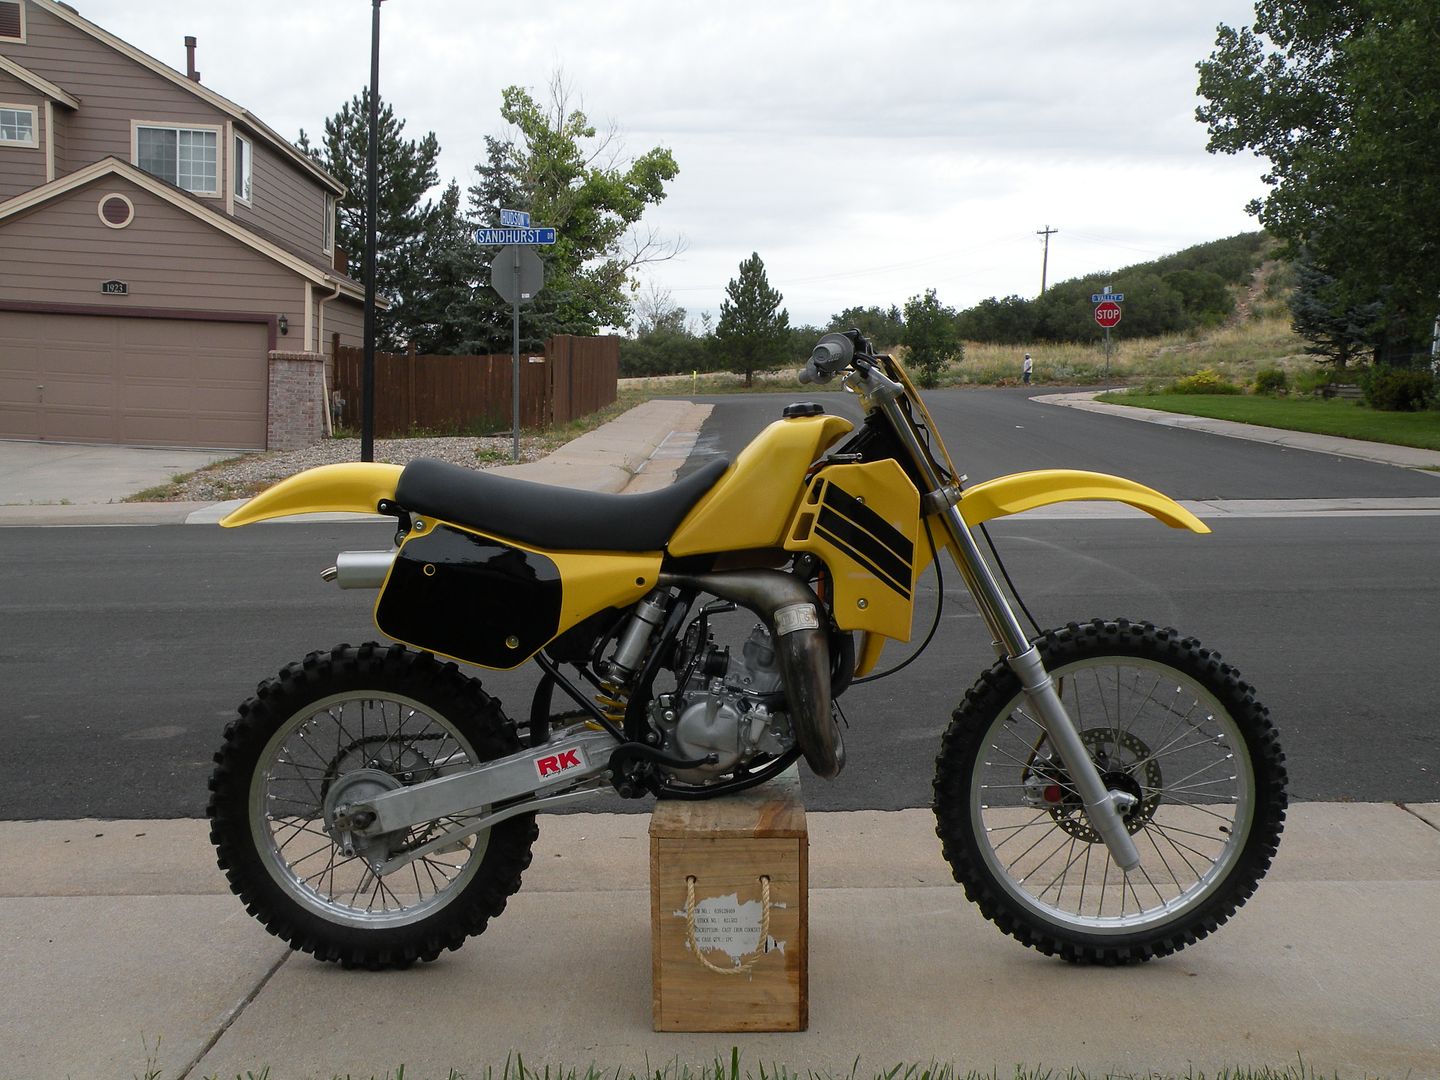
Yes, Yes, I know... The blue frame was a very high consideration when deciding to completely overhaul the bike. I wanted to make some slight changes to the bike just to make it a bit different from all the rest.
I very much liked motodave721's bike a ton and wanted to make a little brother to his, with some slight changes as well, because this bike is super clean!
Post by: blbiker56 on June 25, 2014, 03:42:42 PM
The bike has been put on the back burner due to another customers bike to be worked on, but...
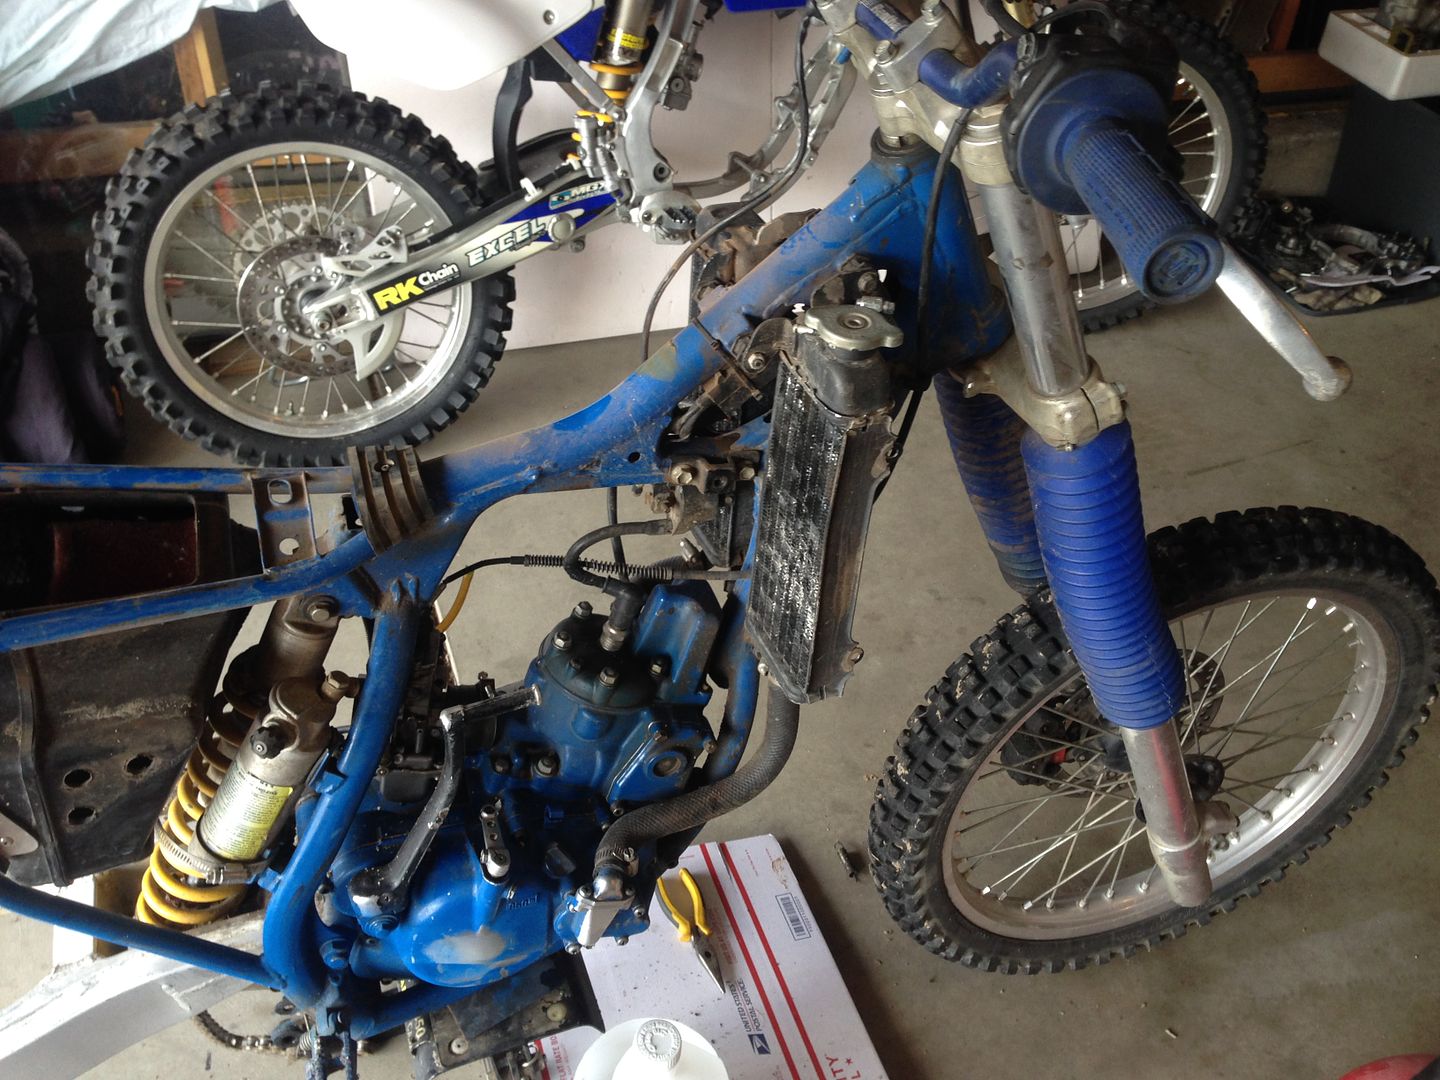
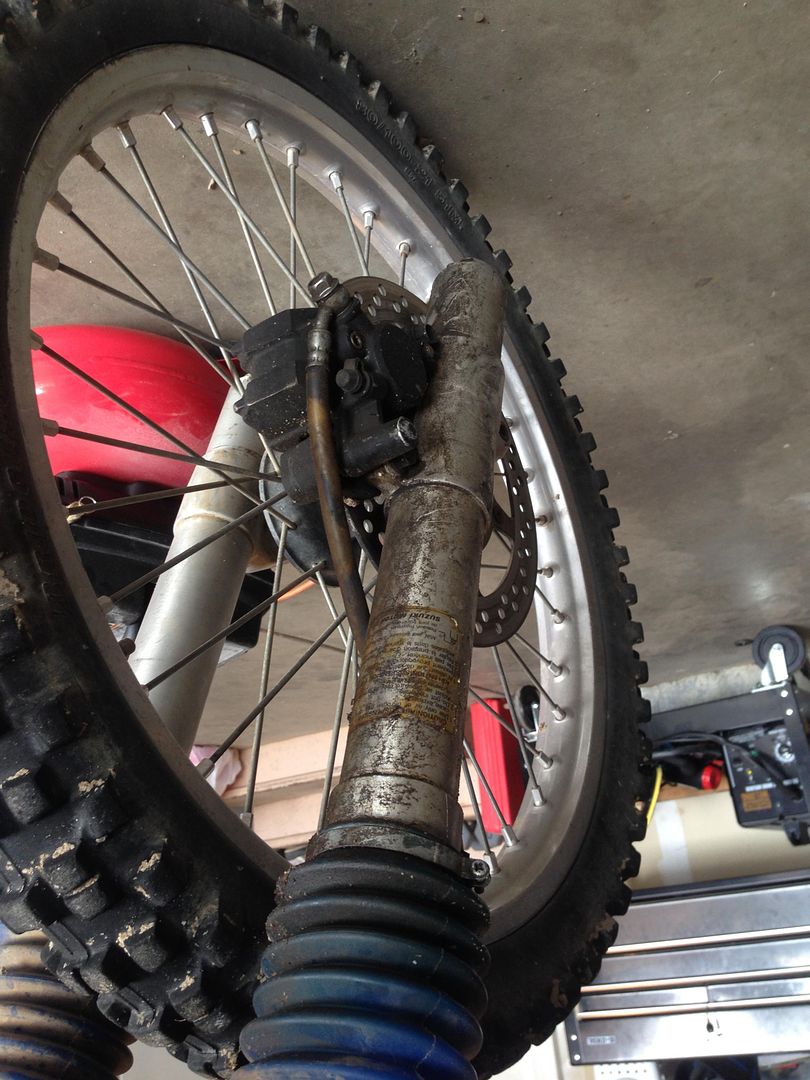
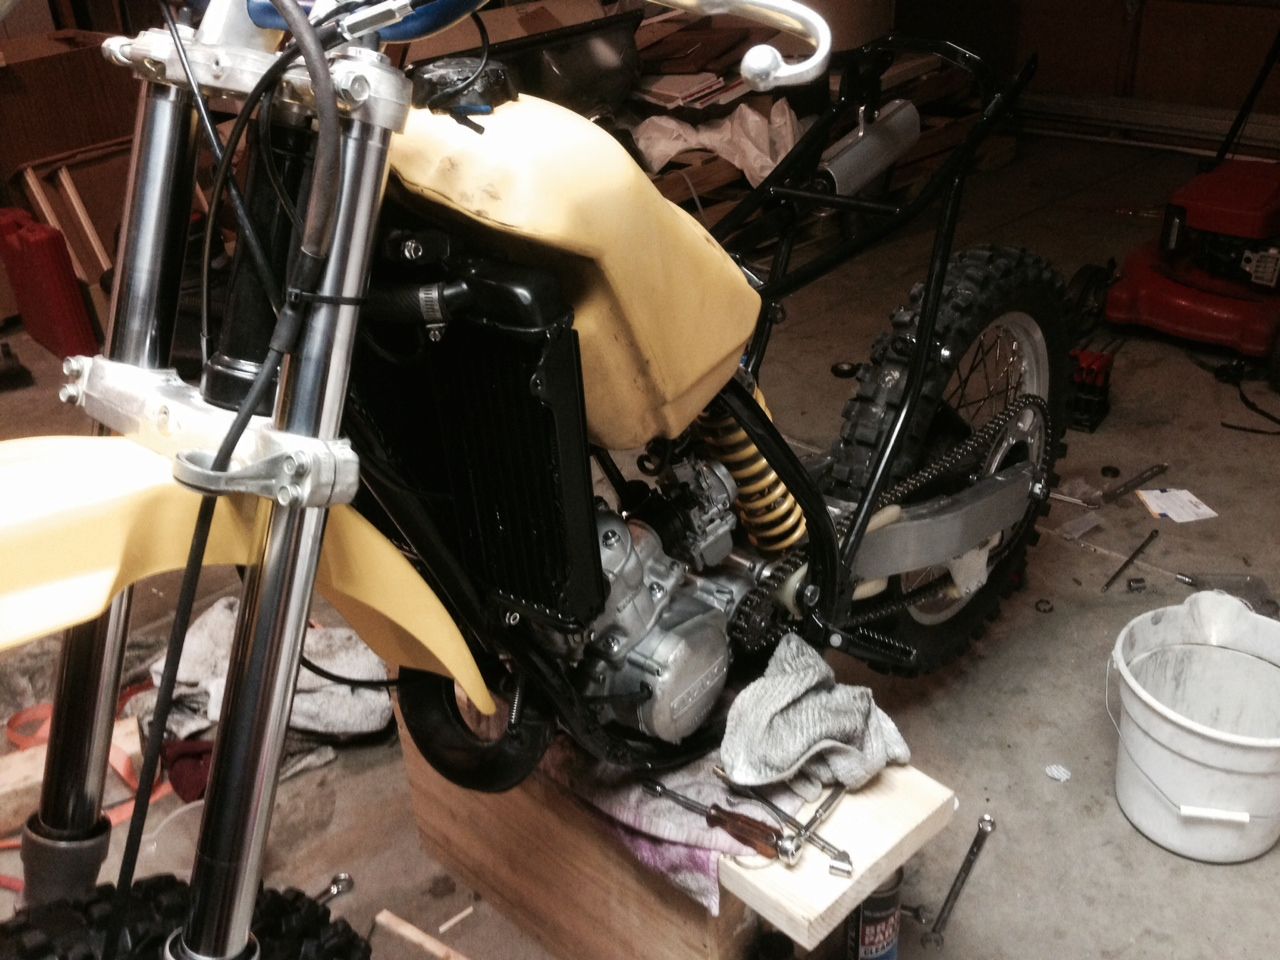
I have rebuilt both forks and put new fork seals and some fresh oil has been put into them, they look and feel great! Also I spent a ton of time working on the radiators. They were bent up and many of the fins bashed in and not facing straight. Took a long time but the radiators are looking fantastic now and are cleaned and heated cleaned to burn off all oil deposits. I will be high head coating them with flat black to bring back the shine!(Flat Black)
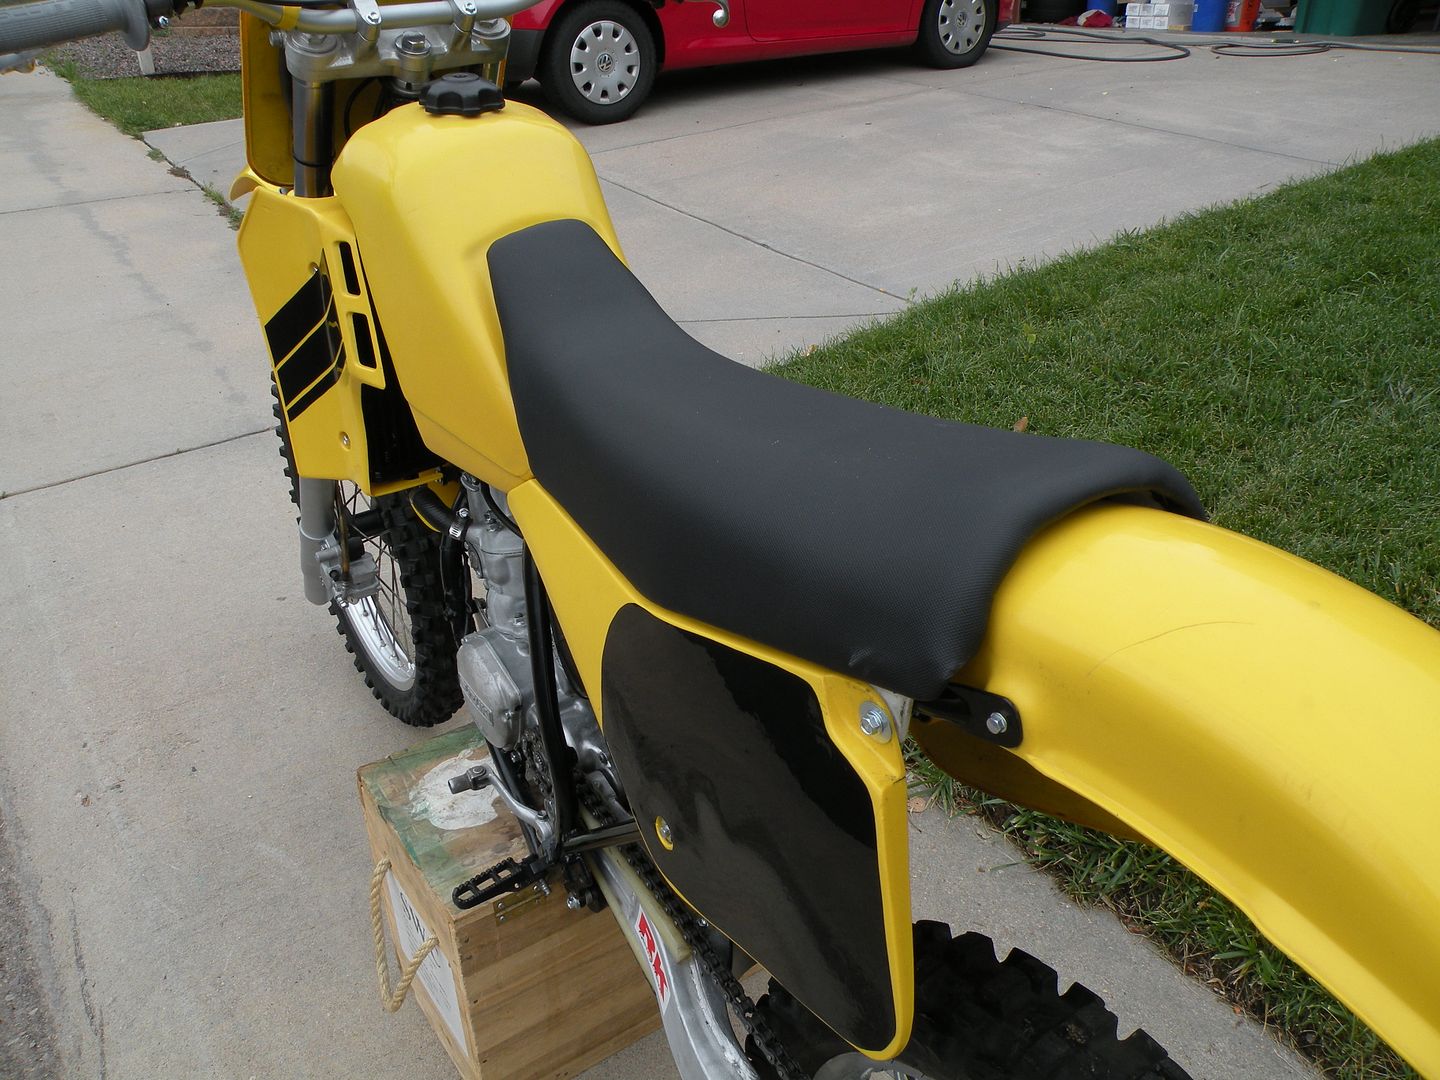
 . I also received both motion pro cables and the new UFO front fender. I should be able to polish and use all the other original plastics on the bike. I also finished the rear brake pedal.
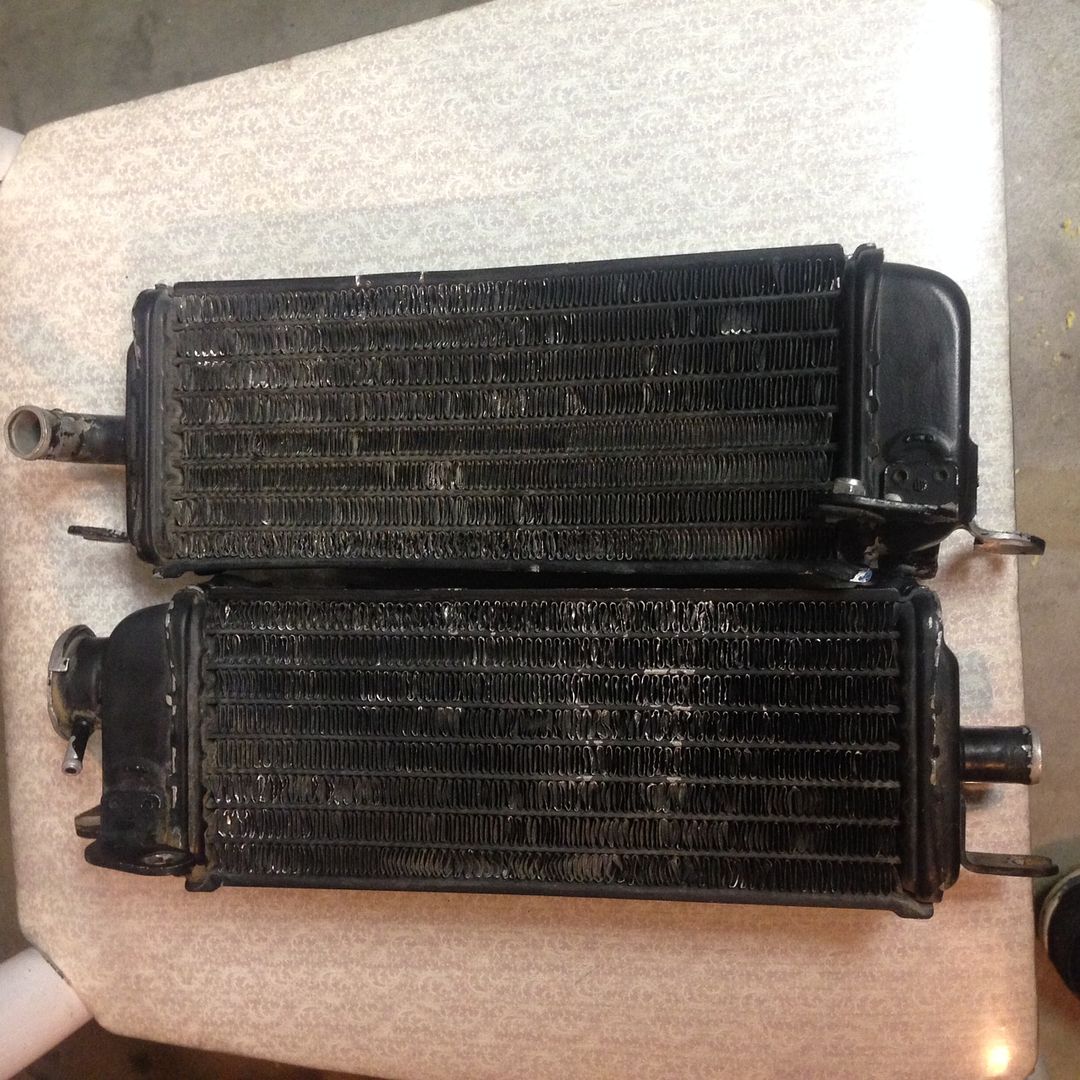


Post by: _X_ on June 25, 2014, 07:31:53 PM
Post by: MotoDave721 on June 27, 2014, 01:03:30 PM
Awesome looking project BL, maybe we will meet up at a vintage race sometime and get some big brother little brother pics! I always wanted to do the black frame/bare engine back in the 1980's, I think some of the Suzuki fanatics might be offended but I like what I like...
Post by: blbiker56 on June 27, 2014, 04:02:13 PM
Been off the forum for a while, we have been busy riding our newer bikes since riding season finally hit. Great reading all the posts and catching up
Awesome looking project BL, maybe we will meet up at a vintage race sometime and get some big brother little brother pics! I always wanted to do the black frame/bare engine back in the 1980's, I think some of the Suzuki fanatics might be offended but I like what I like...
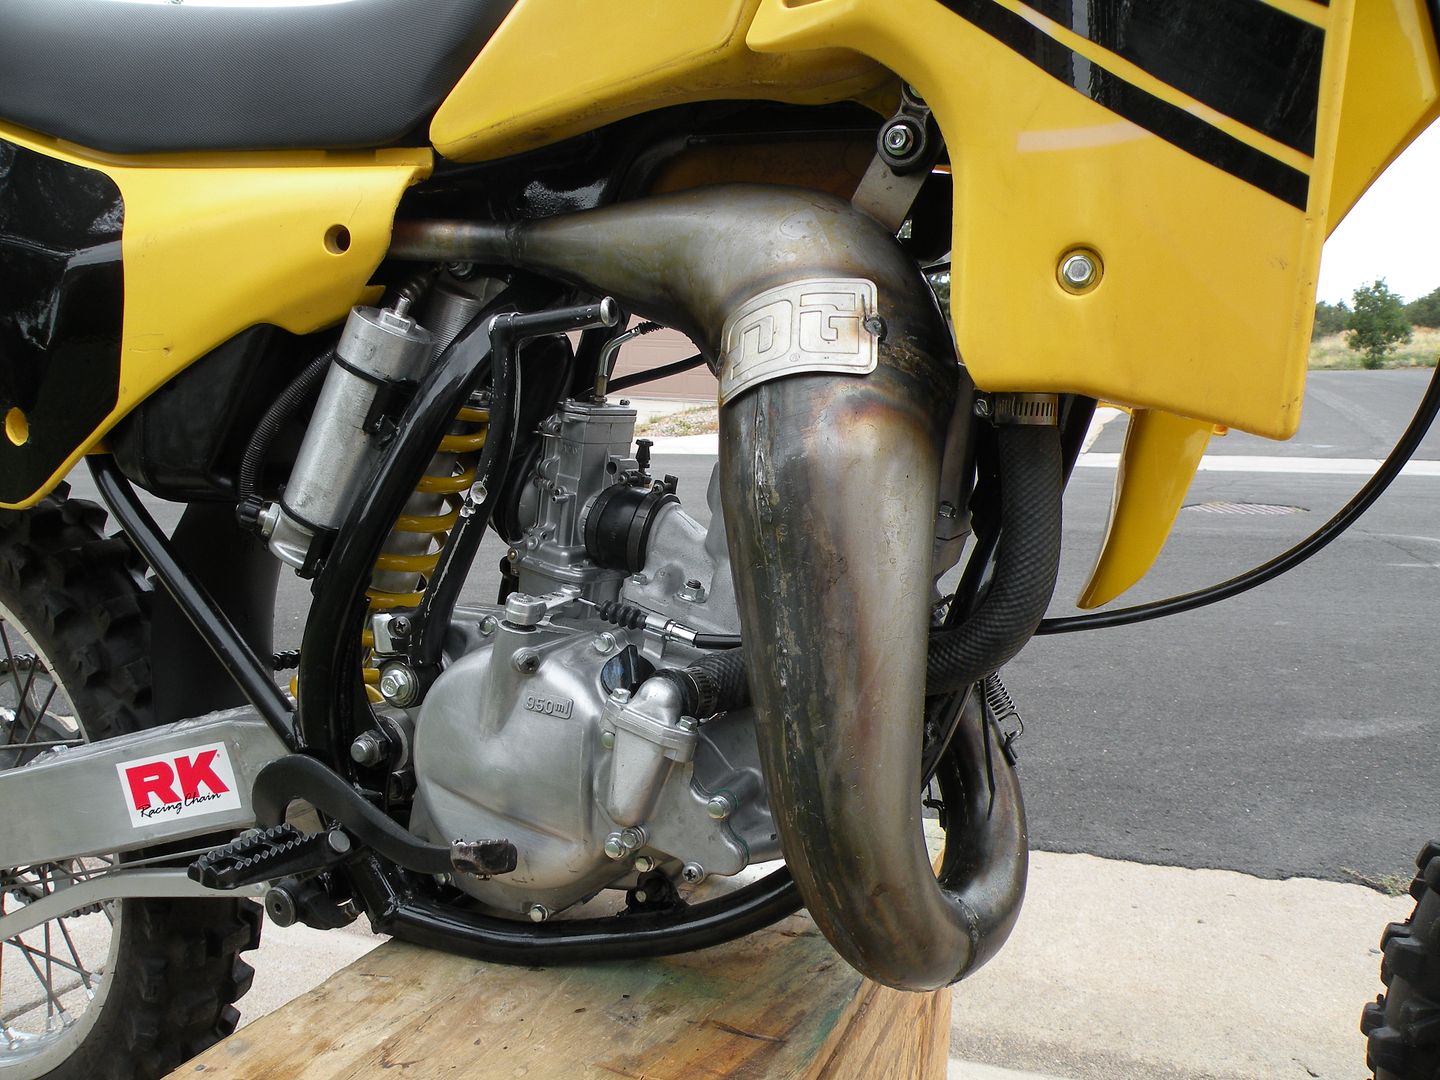
Yeah that would be pretty awesome to get some good pics of the bikes. I posted some of the progress pics on another forum and someone was trying to bash on me because of the black frame, but again I very much like the clean look of the bare aluminum engine and the black frame. in 1983 they did the black frame, but also the black engine. Plus your not loosing the Suzuki Brand, still rides like RM! Skinny bike, Hard top Hit, squishy Suspension.... Right at home!
Post by: blbiker56 on June 27, 2014, 04:03:40 PM
Back burner? That's where my wife puts me.
HA HA Your telling me, Between installing hard wood floors and tiling bathrooms I have to squeeze in time to get work done before bed!
Post by: blbiker56 on July 02, 2014, 09:05:00 PM


Post by: Stusmoke on July 02, 2014, 09:11:57 PM
Post by: blbiker56 on July 06, 2014, 06:06:28 PM
Hehehehe dem phillips head screws eh? Yamaha used em in some places too. I hated them. KTM's torx screws are much better and they only use em where you can't really use a hex head now thankfully.
Yeah, what engineer would put them on a bike with more than 10 lbs of torque! They are a pain, and if you do not have the correct head you will strip that thing out like no body's business.
Post by: blbiker56 on July 08, 2014, 06:02:08 AM
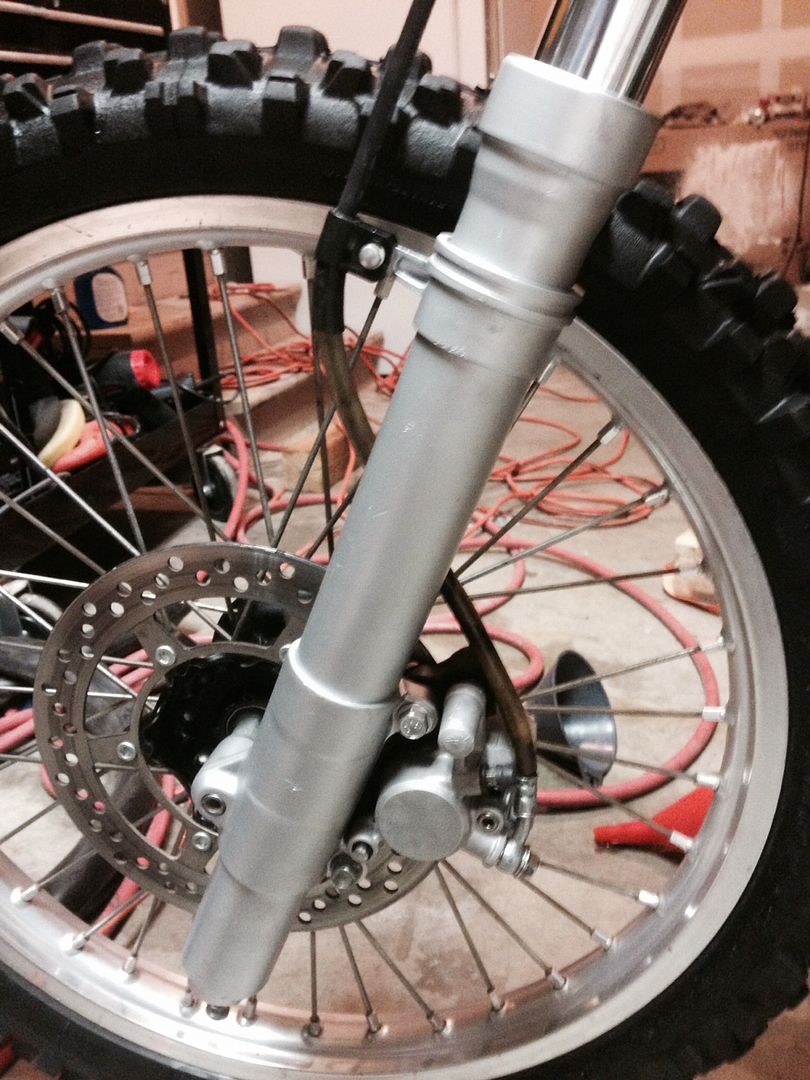
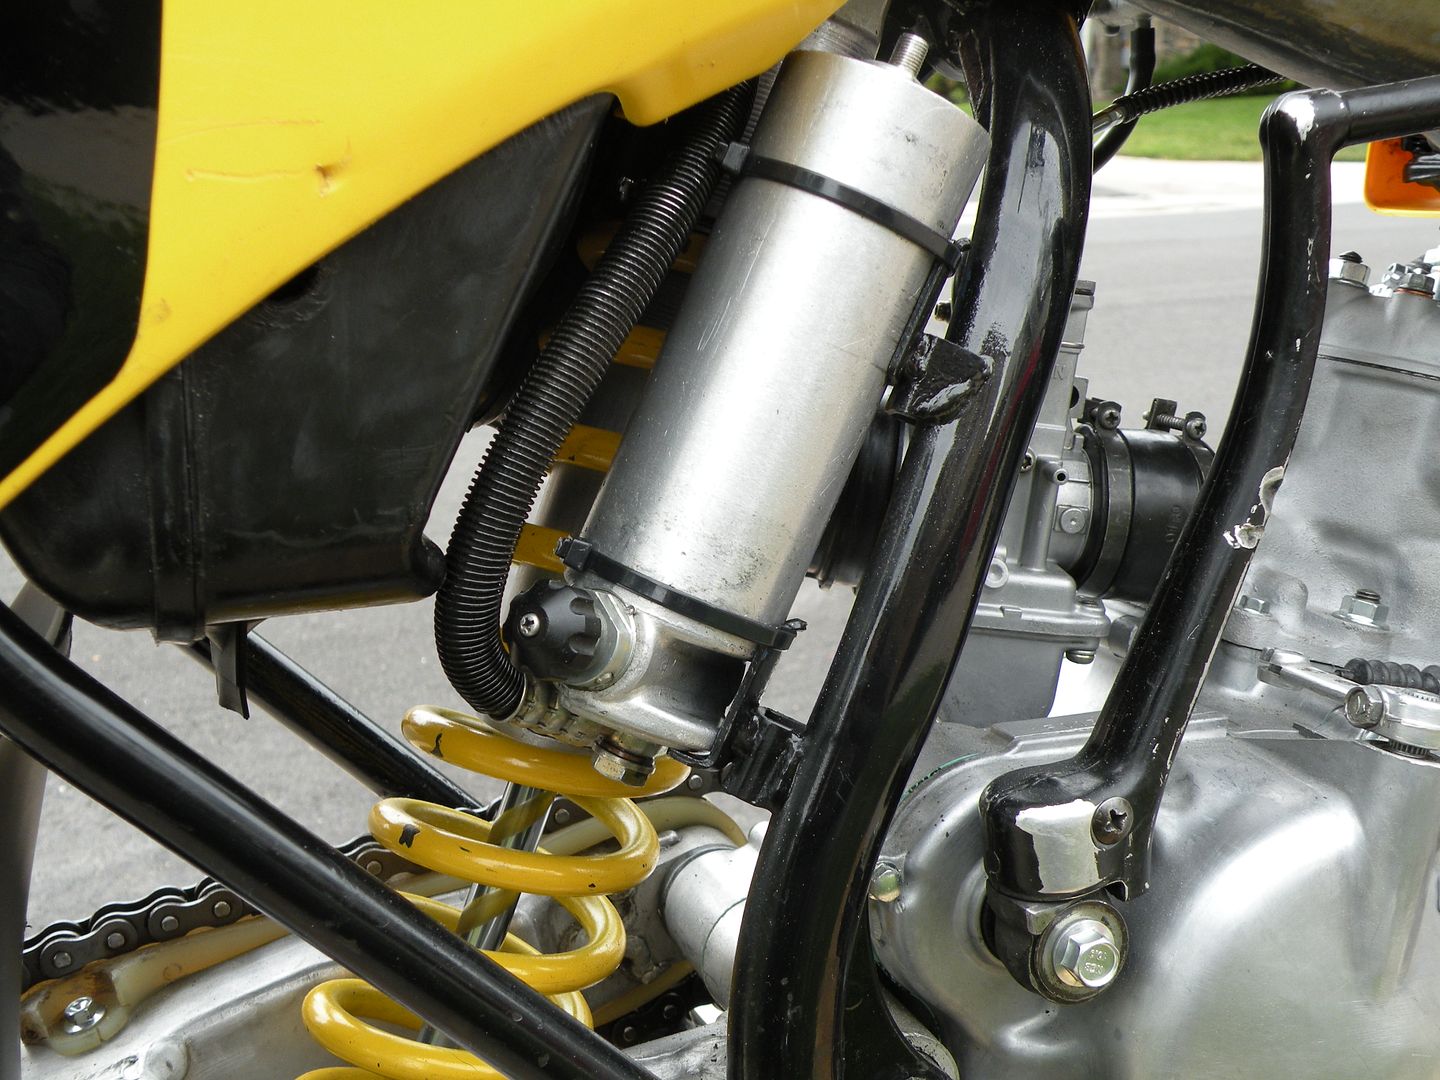
The rear shock has been rebuilt with all new oil and recharged. Also I have finished the radiators and the front brake system. The radiators have been completely straightened and fins have been adjusted back to a straight look, and then high heat coated in satin black. The front caliper has been completely rebuilt as well with all new o-rings, and the master cylinder has also had all o-rings replaced. The replacement of brake fluid is a pain in the butt if you do not have a bleeder. This is one tool that i desperately need. Also I rebuilt the pet**** and it started leaking after i put some gas in the tank, So i will have to pull it apart again and see what the issue is. The bike starts but was running so rich, I couldnt wait to see if the bike would start up so this is the reason why i had put gas in the tank. The bike is in desperate need for a re-jet! I will make sure i post the jetting, because i have not found anything on anywebsite for jetting for high altitude for this RM125.
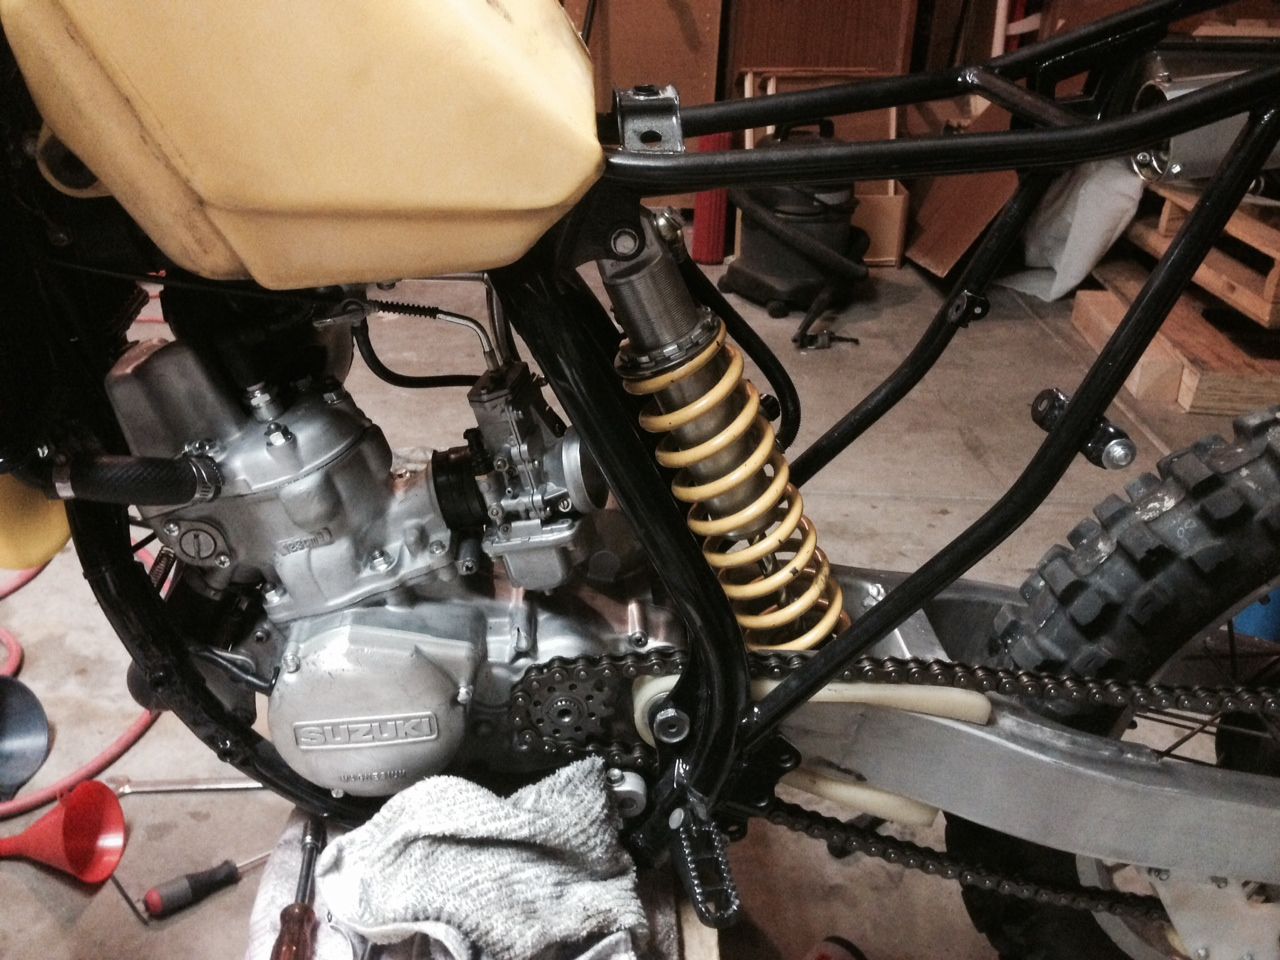
Ignore my messy Garage and tangled extension cord

Post by: _X_ on July 08, 2014, 11:42:55 AM
Post by: blbiker56 on August 21, 2014, 08:15:02 PM
Post by: _X_ on August 21, 2014, 09:16:30 PM
Post by: eprovenzano on August 24, 2014, 01:20:23 PM
nice, but whats with the arby's levers?
They're custom the fit the riders hands... I happen to have a similar brake lever on my 380
Post by: _X_ on August 24, 2014, 05:59:20 PM
ha!nice, but whats with the arby's levers?
They're custom the fit the riders hands... I happen to have a similar brake lever on my 380