Post by: TMKIWI on February 23, 2013, 07:16:38 AM
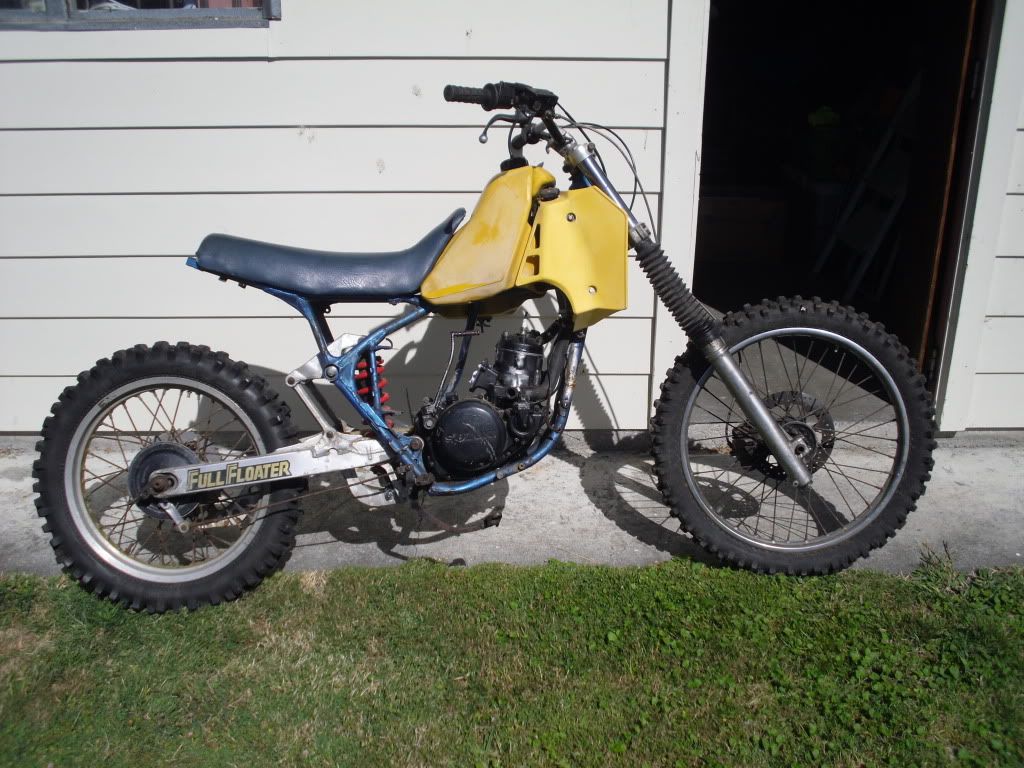
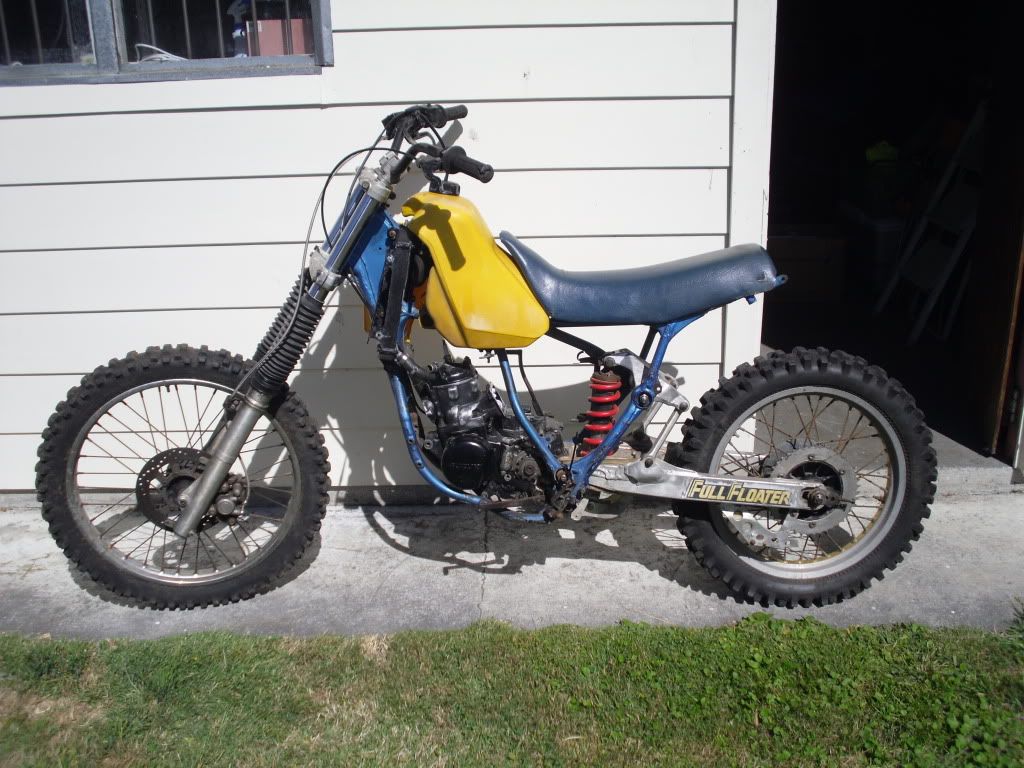
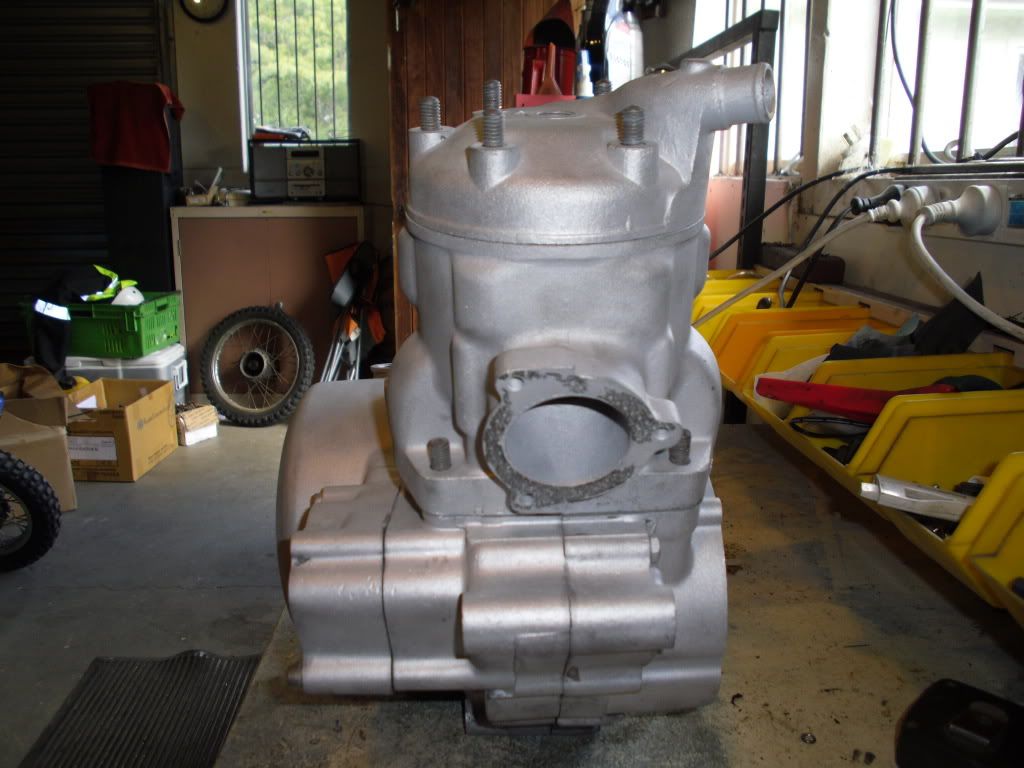
I bought this off a guy I race with and he used this bike and another to build 1.
All the important bits are there and I got it for sfa.
Plan on doing a full nut and bolt rebuild to match my 125.
I may shoehorn the motor into my spare 125 frame which is already rebuilt.
I need to do some measurements to see if it will work or not. If not, this frame will get rebuilt instead.
I will put an order in tommorrow for , new plastics,piston,rod,stator,exhaust etc.
Have pulled the barrell and will need a new os piston and rebore. The rod feels fine but will spilt the cases and see what is needed in the tranny and replace what ever is needed.
Post by: TMKIWI on February 25, 2013, 07:38:42 AM
The 250 frame has different pivot points for the full floater compared to the 125.
The swingarm pivots are 7mm wider compared to the 125.
The cases are the same width between the 2 motors but the 250 frame is wider to compensate for the wider swing arm pivots.
I could make the 250 fit the smaller frame but I would have to use all the 125 suspension and swingarm. I need those to build the other 125. It is not worth the trouble.
So looks like I need to repair the 250 frame which is a bit beat up but nothing a bit of time with a welder won't fix.
1 bit of good news, I found out that the 125 stator will fit ( I have 2 spare ) so that saves me 300 bucks.
I went to split the cases tonight to find out what it needs inside and as usual half the case screws were seized.
Looked and looked for my impact driver and couldn't find it.
I drove back to work, couldn't find it in my workbench. This is a new driver I bought last year after I lost my other one.

Now I can't find my new one.

Will borrow 1 tommorrow and get the motor apart.
Another thing I found when I striped the frame yesterday was the fork clamps were majorly over tightened.
I loosened the clamps and they opened up alot. I measured the forks and they are 41mm. In 43mm clamps.
F****n idiots. 
Looks like the disc front end will have to come out of the 125 and the drum setup put back in.
Luckily I have 4 bikes to make 2. The joys of old bikes.
Post by: evo550 on February 25, 2013, 09:08:50 AM
Shock looks a bit short at one end also.
Post by: SachsGS on February 25, 2013, 03:14:28 PM

Post by: TMKIWI on February 26, 2013, 07:24:19 AM
Those forks "look" right, wonder what their from at 41mm.
Shock looks a bit short at one end also.
Yeh I thought the forks were the same as on my 125 ( which I have found out are off a DR250, which are the same as a 86" CR ) but who knows.
The rear shock is just holding the bike up. I am waiting on the custom shocks to get finalised and will fit them to both bikes.
"Farmerized" bikes in NZ?
Stupid **** happens everywhere.
Found my impact driver and got most of the engine split tonight. Now need to find my flywheel puller.
Most parts have been ordered.
Post by: evo550 on February 26, 2013, 08:45:04 AM
Post by: _X_ on February 26, 2013, 01:31:37 PM
Post by: TMKIWI on March 01, 2013, 03:55:15 AM
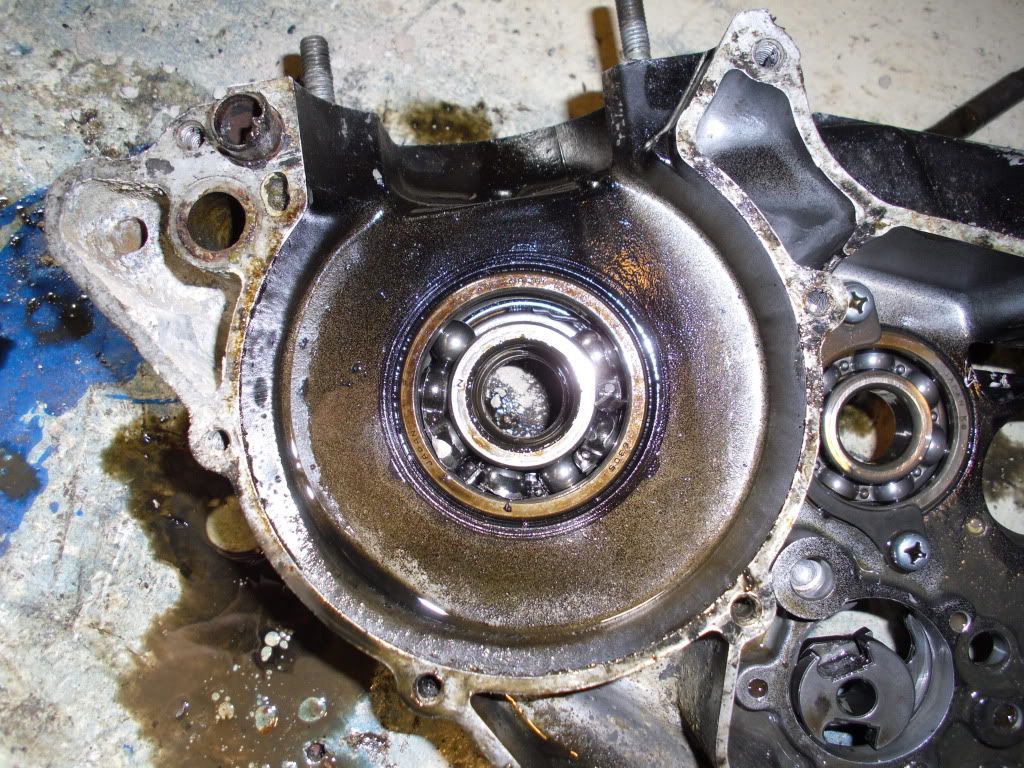
The gearset is in good shape dispite the gunge sitting in the bottom.

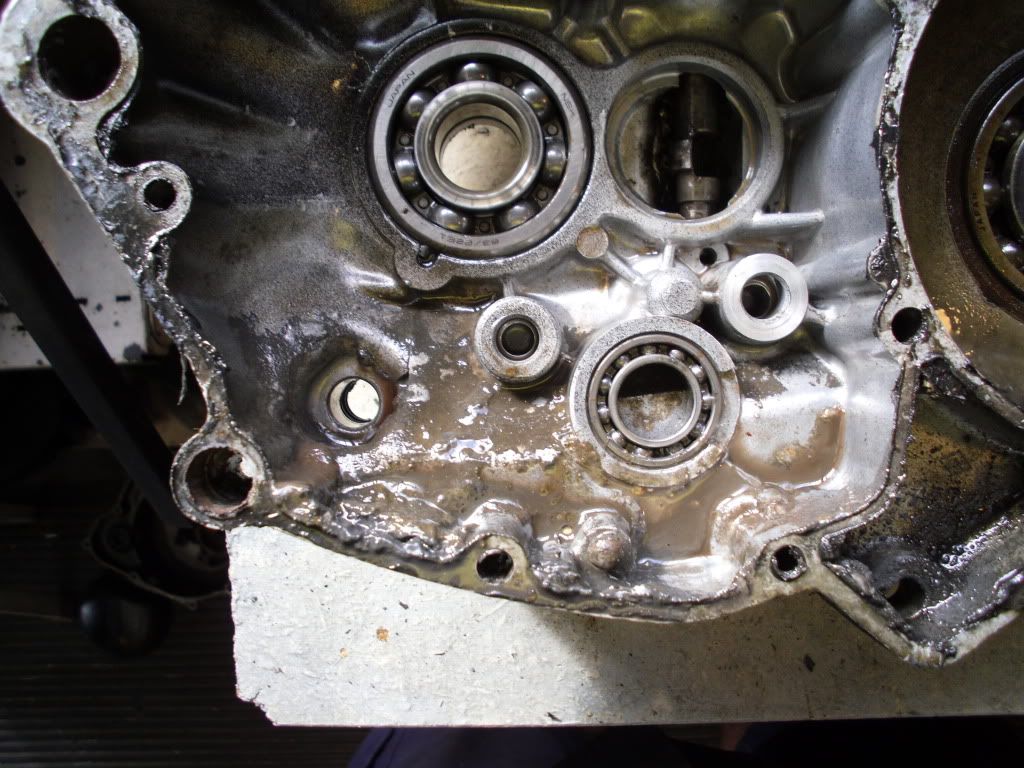
The crank is getting a full rebuild which is just as well.
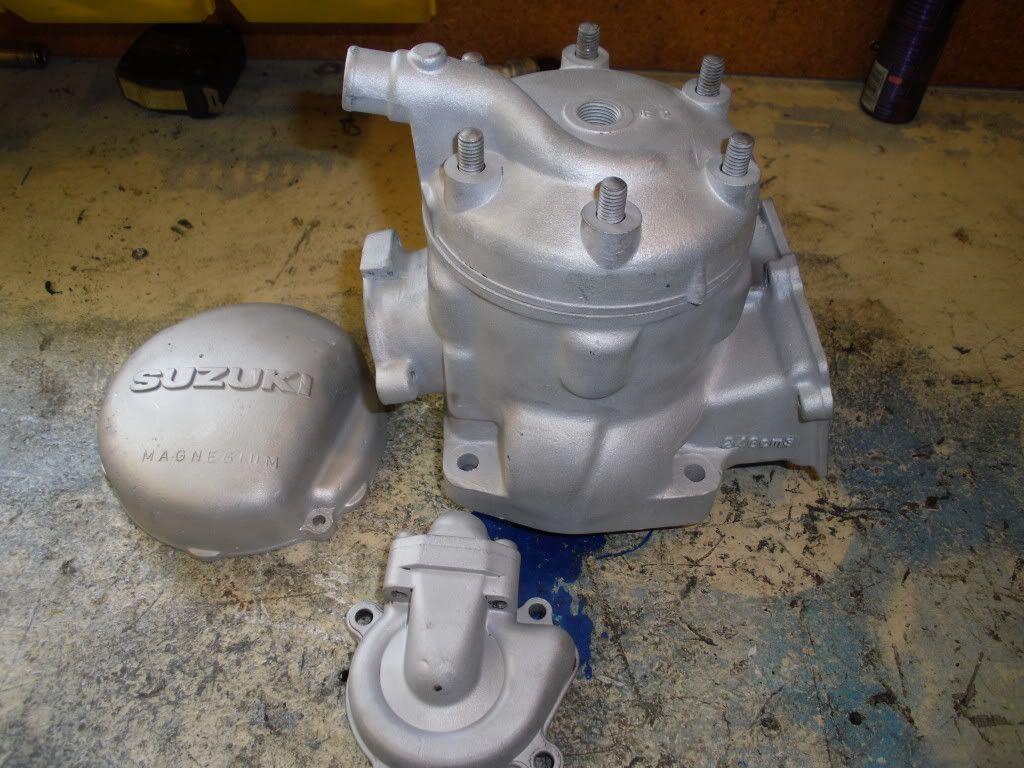
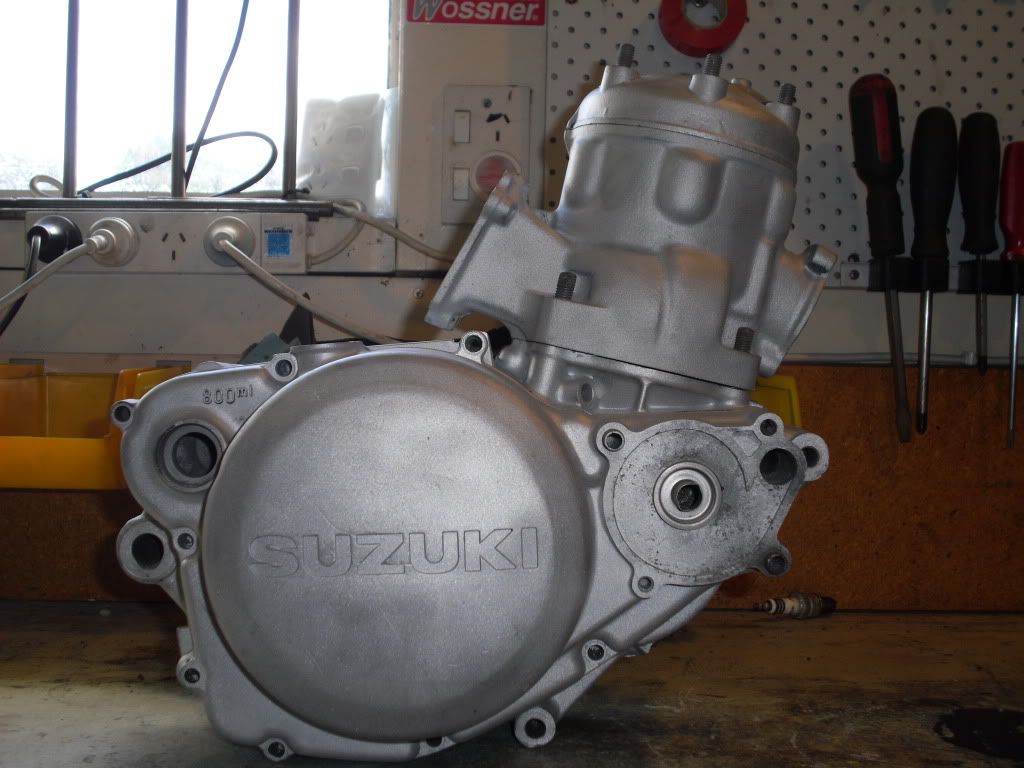
Bead blasted the frame today and also the barrell and mag cover.
Will drop the case bearings out tommorrow and bead blast the rest of the engine.
Hopefully weld up the frame on monday after work and get it painted.
Post by: evo550 on March 01, 2013, 04:28:15 AM
Post by: TMKIWI on March 01, 2013, 06:31:16 AM
86 cr's would have been all 43mm's.
Yes they were, that is what is on my 125.
What I was saying was, I am going to put that front end on the 250 and the original 43mm drum brake front end back on the 125.
Post by: TMKIWI on March 02, 2013, 03:50:17 AM
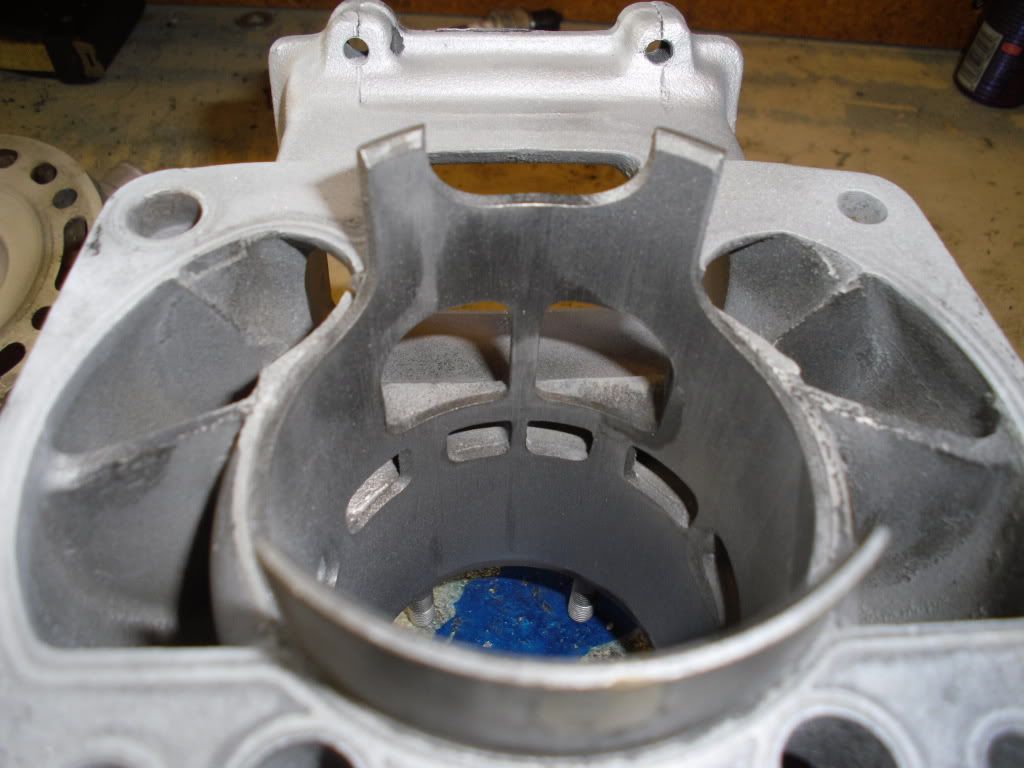
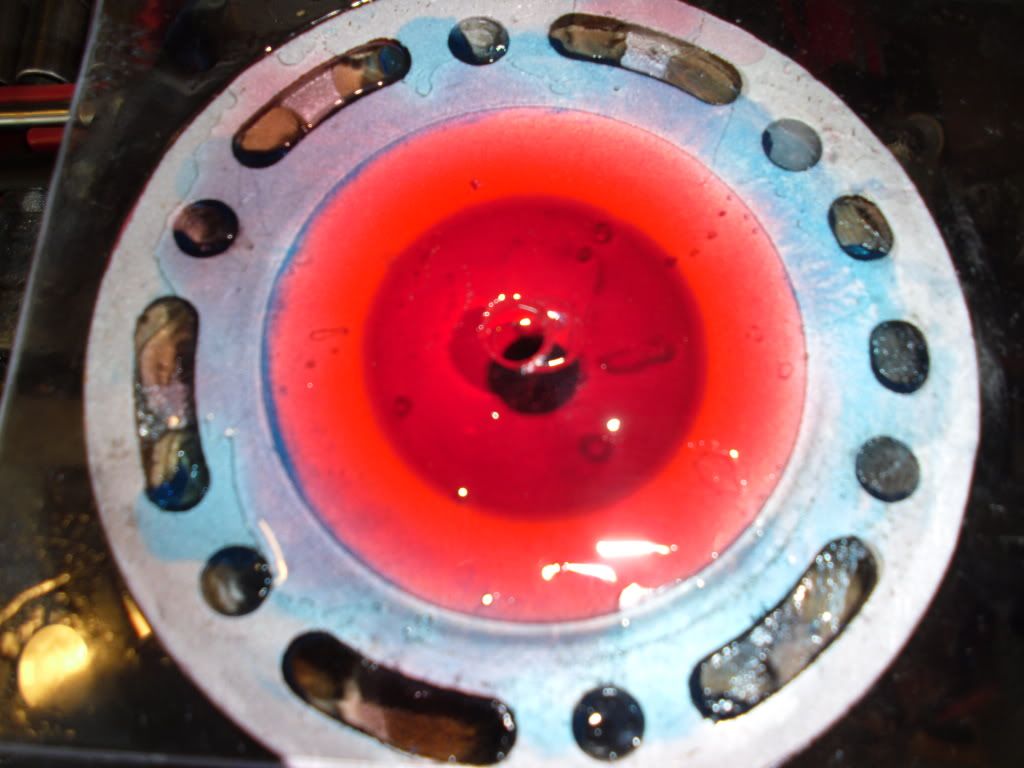
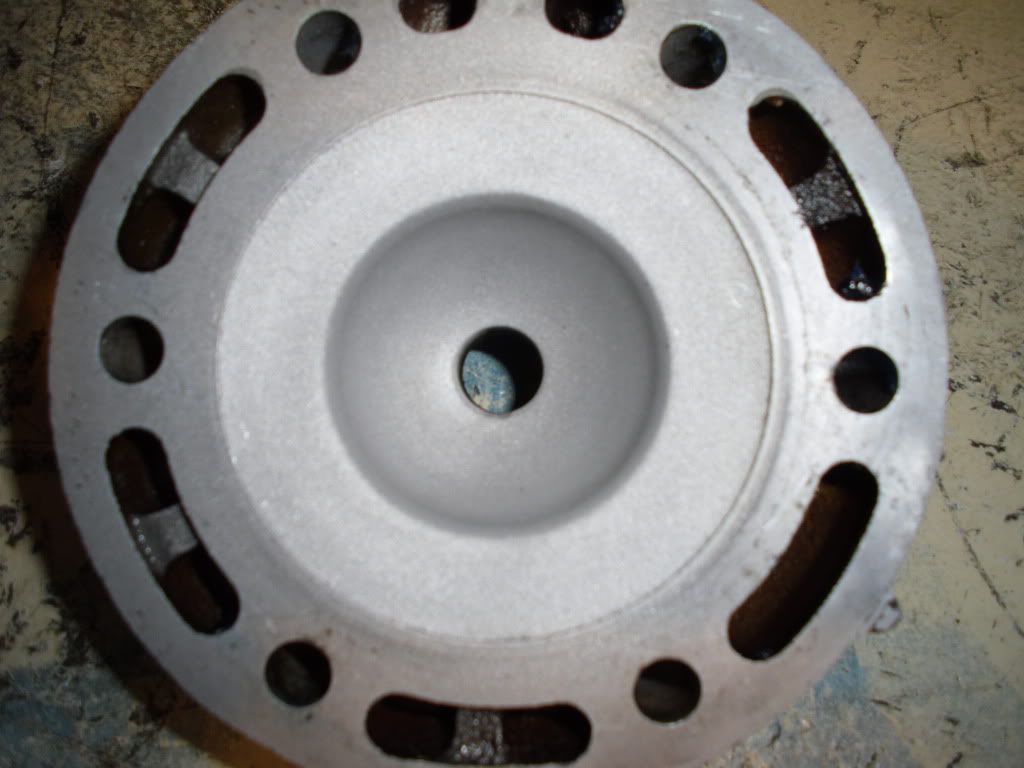
Cylinder will be bored once the piston arrives and head modified to 82' specs.
Conrod will be here in a couple of days so the crank can be rebuilt.
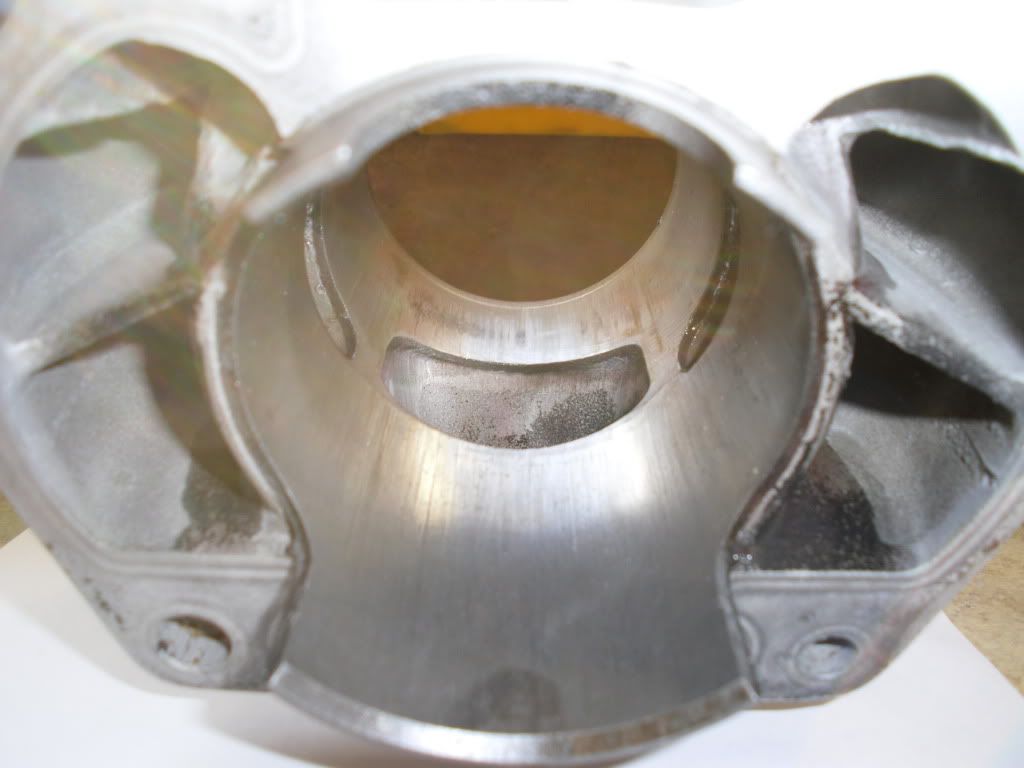
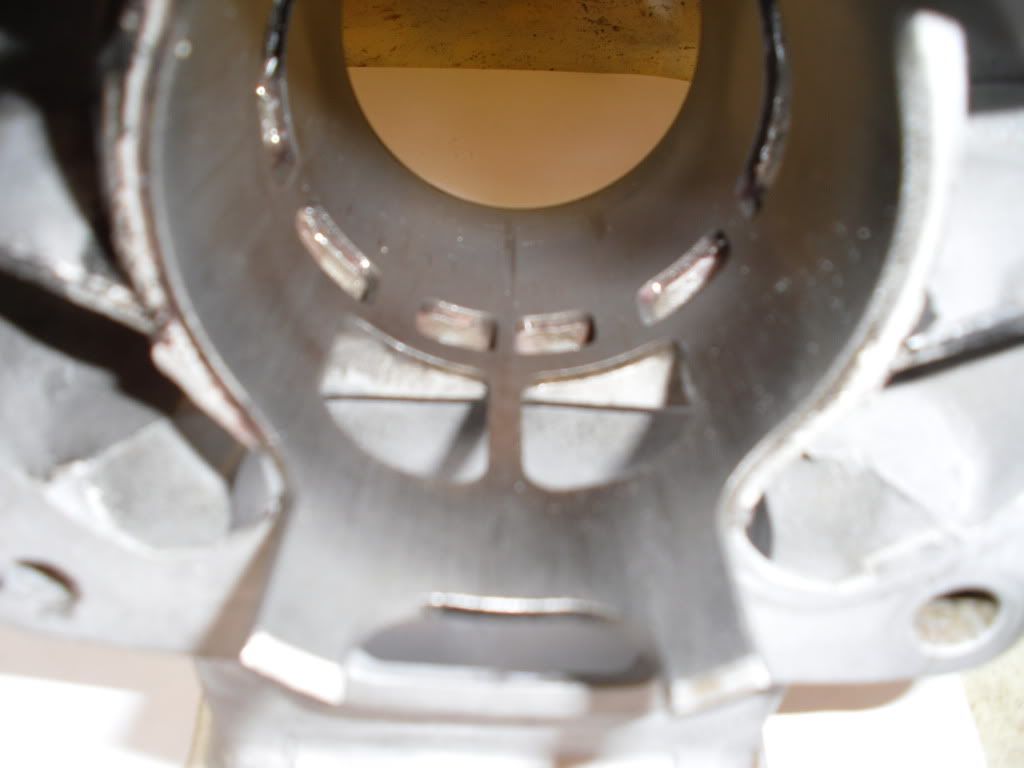
Old school exhaust port. Power valves are for girls.

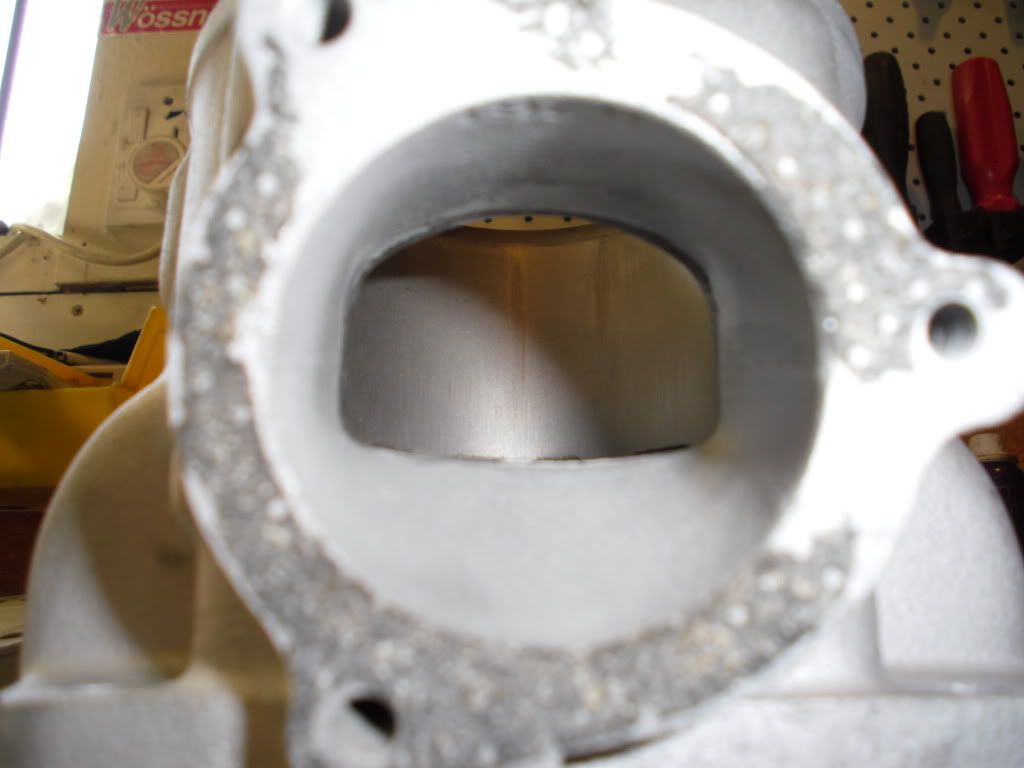
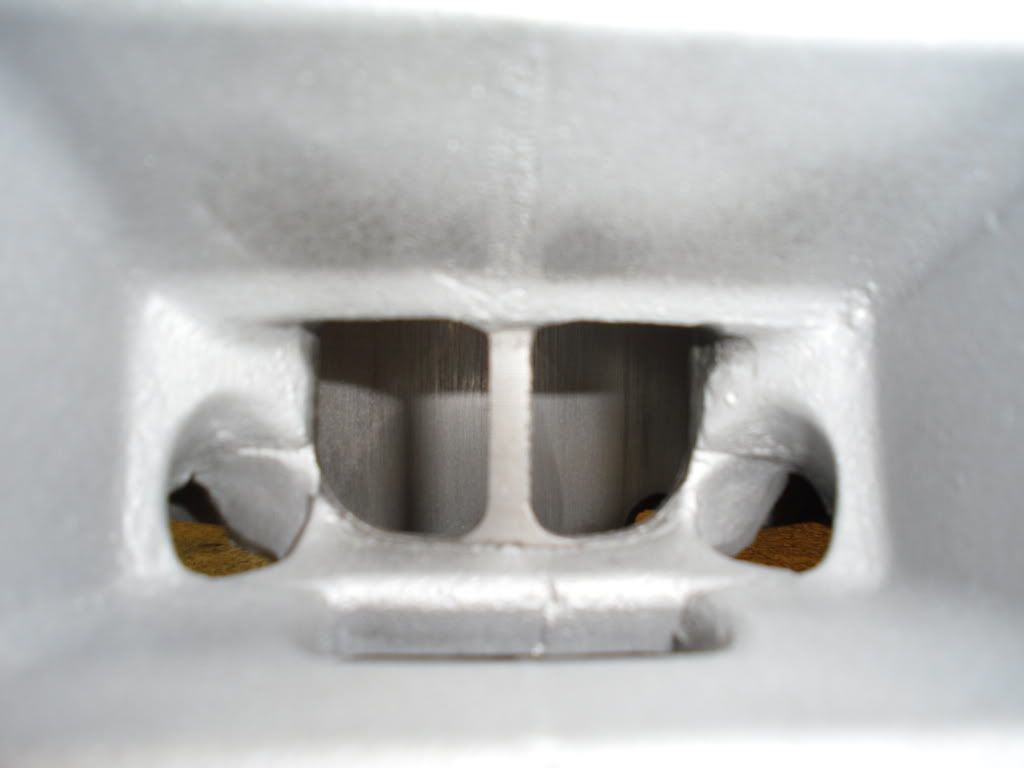
Question for any engine experts.
In the 2 photos above you can see a pronounced ramp on the roof of the intake.
I am quessing it is there to create turbulance.? Is that correct.
Only ask as I am going to clean up the ports a little and want to know if I should leave it as it is.
Cheers
Post by: TMKIWI on March 08, 2013, 01:13:31 AM
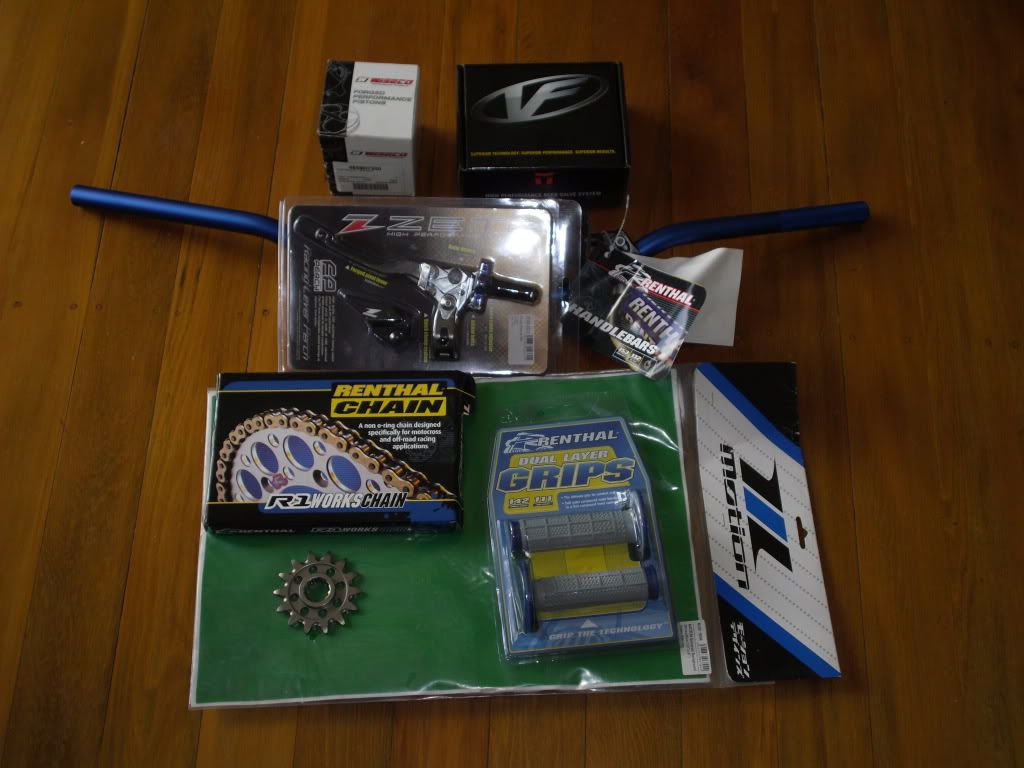
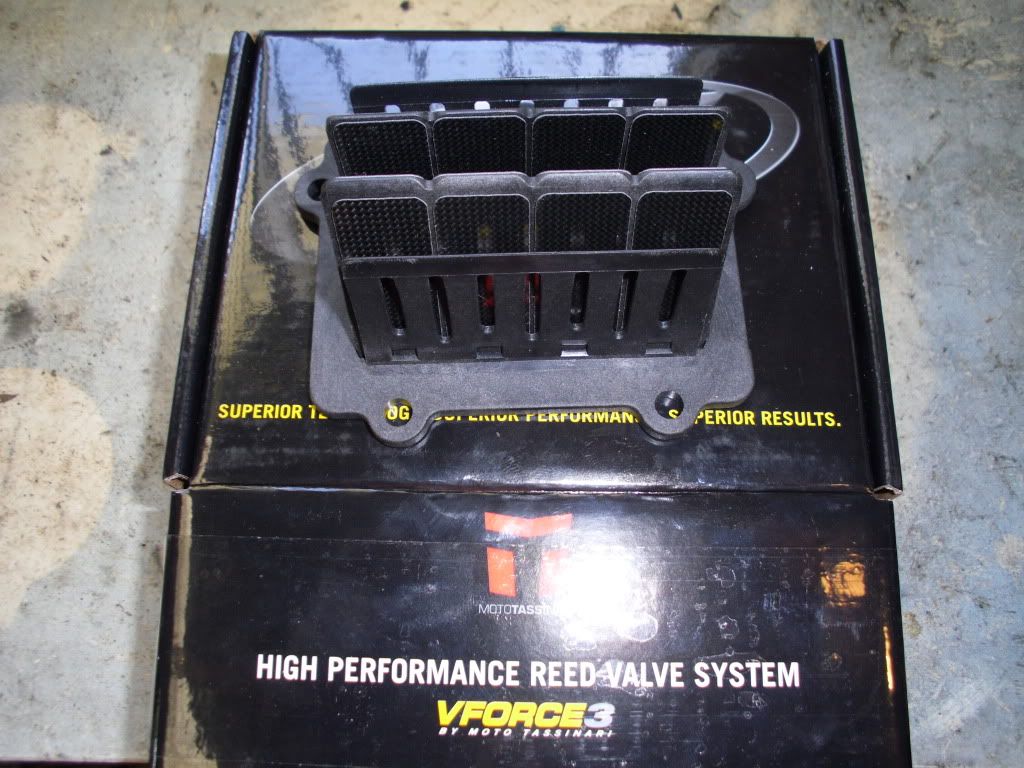
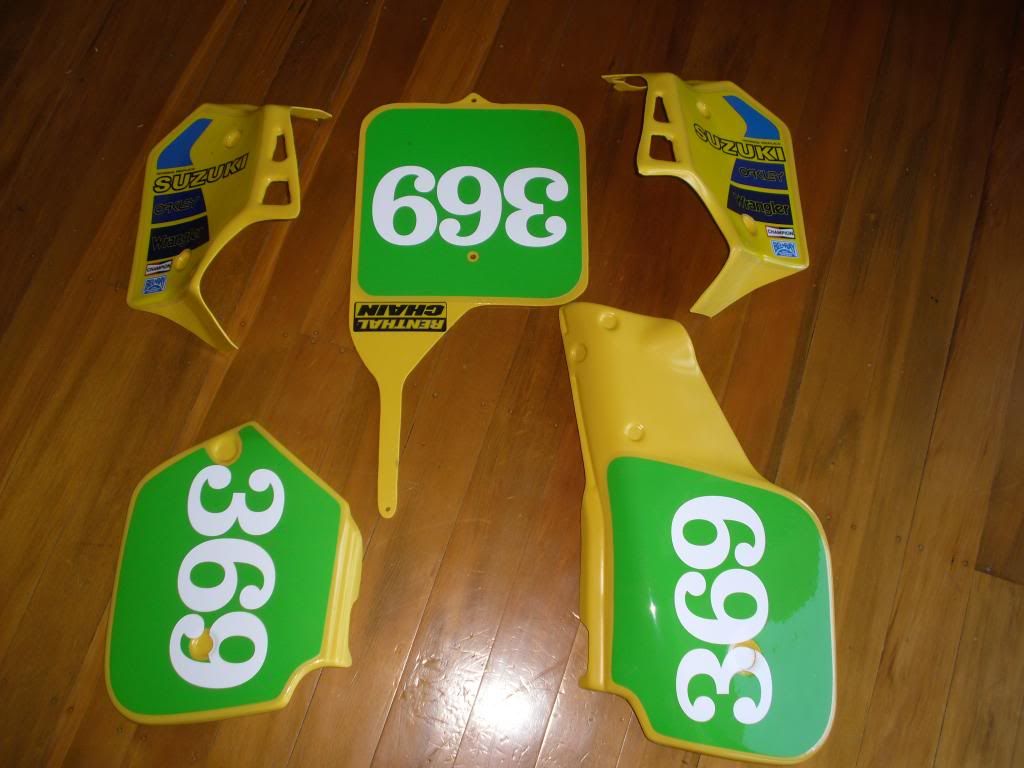
Renthal bars,grips & chain. Zeta forged pivot lever, Wiesco forged piston & VForce reed cage.
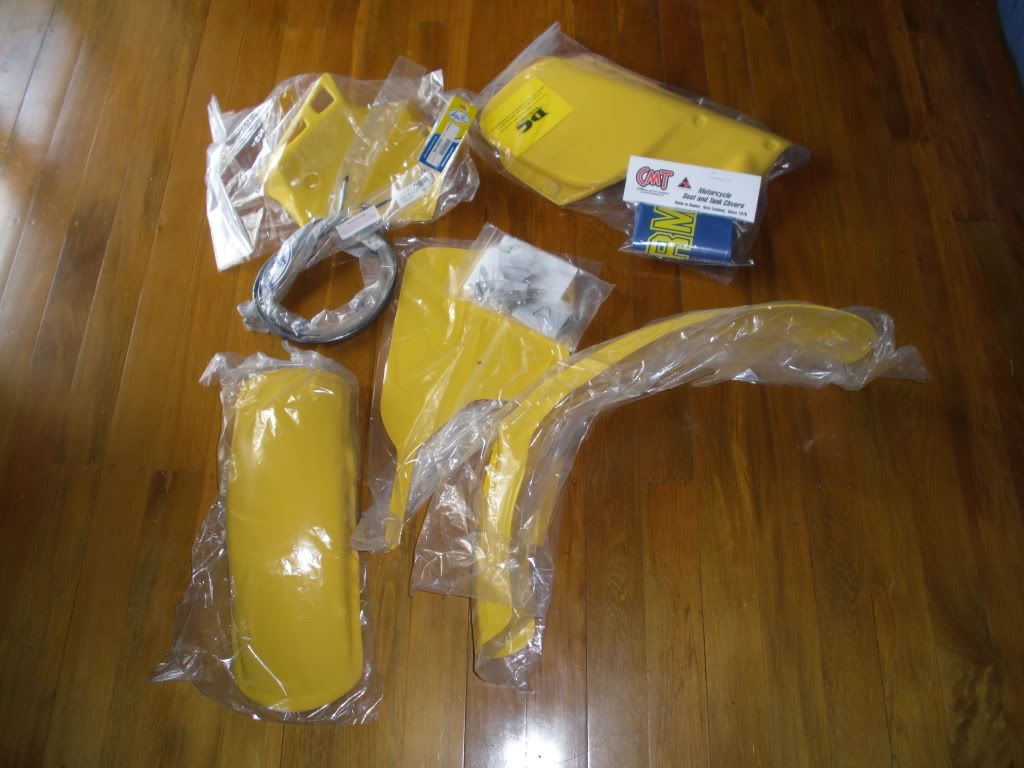
New plastic kit , seat cover & clutch & throttle cables.
Bead blasted engine cases.
CCing the head.
The crank is having a new rod fitted at the moment and will drop the cylinder and piston off to him on monday
Engine parts from Mrcycles should be here next friday as well as my exhaust and racetech suspension parts.
Post by: _X_ on March 08, 2013, 01:21:25 AM
Post by: evo550 on March 08, 2013, 07:22:26 AM
Post by: opfermanmotors on March 08, 2013, 02:42:02 PM

Post by: TMKIWI on March 08, 2013, 10:51:25 PM
What's your DC plastics like?
Had no problems with the set on the 125.
Post by: TMKIWI on March 08, 2013, 10:52:31 PM
2 Stroke ports are "chamfered", i.e. rounding off the ports so they aren't sharp edges. This prevents wear and tear on the piston and rings as they pass over the ports (i.e., like going past a gillotine every stroke!). 4 Strokes have valves at the top so they don't have to worry about that
Yep know all that.
Was talking about the 'ramp' in the inlet tract.
Post by: TMKIWI on March 08, 2013, 10:54:52 PM
Do you know Peter Sales. Was thinking of sending the cylinder to him for some work.
Or there is Wobbly.
Post by: 2T Institute on March 08, 2013, 11:54:22 PM
 Post a pic of the inside and the bottom of the cylinder, check for +ve or -ve deck height and give me the rod length, stoke and measurements from the cylinder top and I'll give you some pointers.
Truth is you can buy the stuff and do it yourself
Post by: TMKIWI on March 09, 2013, 01:42:26 AM
Cylinder getting bored this week.
Will check deak heights etc and let you know.
I have a die grinder and have done abit myself just thought if it was worth paying someone with abit more experience.
Cheers.
Post by: 2T Institute on March 09, 2013, 05:49:47 AM
Post by: TMKIWI on March 09, 2013, 06:38:21 AM
Post by: 2T Institute on March 09, 2013, 07:44:59 AM
Post by: opfermanmotors on March 09, 2013, 05:37:49 PM
2 Stroke ports are "chamfered", i.e. rounding off the ports so they aren't sharp edges. This prevents wear and tear on the piston and rings as they pass over the ports (i.e., like going past a gillotine every stroke!). 4 Strokes have valves at the top so they don't have to worry about that
Yep know all that.
Was talking about the 'ramp' in the inlet tract.
Ah ok, I misunderstood since the last picture of the ports was the one shown by the question and I skim read so I just saw Ports, the last picture and assumed it was the chamfering lol
Post by: _X_ on March 09, 2013, 06:15:26 PM
Post by: TMKIWI on March 10, 2013, 06:14:24 AM
The rod I ordered which the online fisch said was the superseded part number is too long.
Standard length 122mm. This rod 128mm.
Question. Should I make this a long rod motor.?
What negatives would there be , if any.?
I have access to a water jet to make the 6mm base plate.
Bore 72mm stroke 64mm.
Post by: 2T Institute on March 10, 2013, 08:31:47 AM
Looks for a piston with 6mm less comp height
or cut the spacer plate. What is the comp height, gudgeon pin size , length of your piston bottom of skirt to timing egde and distance to bottom of exhaust port.
Post by: TMKIWI on March 10, 2013, 09:58:00 AM
Post by: TMKIWI on March 11, 2013, 07:19:23 AM
Bore 71.5mm Stroke 64mm
Rod length 120mm ( Not 122 ) .
18mm gudgeon pin.
Centre of gudgeon to piston edge 33mm
Piston skirt length 69mm.
FPV 25cc
HGV 6cc
DHV +2cc or 0.5mm
PCDV 11.7cc
Porting.
From top of cylinder.
Exhaust 33mm-65.8mm
Inlet 52mm-64mm
Will post some pictures shortly.
Cheers 2T.
Post by: 2T Institute on March 11, 2013, 09:00:03 AM
Quote
FPV 25cc
HGV 6cc
DHV +2cc or 0.5mm
PCDV 11.7cc
flat plate volume 25cc
dome is 6c
What are the others?
Post by: TMKIWI on March 11, 2013, 10:36:28 AM
Flat plate volume 25cc
head gasket 6cc
Positive deck height 0.5mm
Dome 11.7cc
Centre of piston pin to timing edge 33mm.
Intake port heights. 52mm. 4 closest to intake
Transfer 50.5mm. 2 ports closest to exhaust.
Cheers
Post by: 2T Institute on March 11, 2013, 11:55:17 AM
If no you can drop the cyl 0.5mm and remachine the head. Need to get the cylinder down as much as possible, 1mm of timing edge exposed is OK. Full reed makes inlet timing irrelevant. Rest looks OK. Post some pics and I'll give you some pointers.
Post by: TMKIWI on March 12, 2013, 04:56:08 AM
Post by: 2T Institute on March 12, 2013, 09:54:35 AM
Post by: TMKIWI on March 27, 2013, 07:06:48 AM
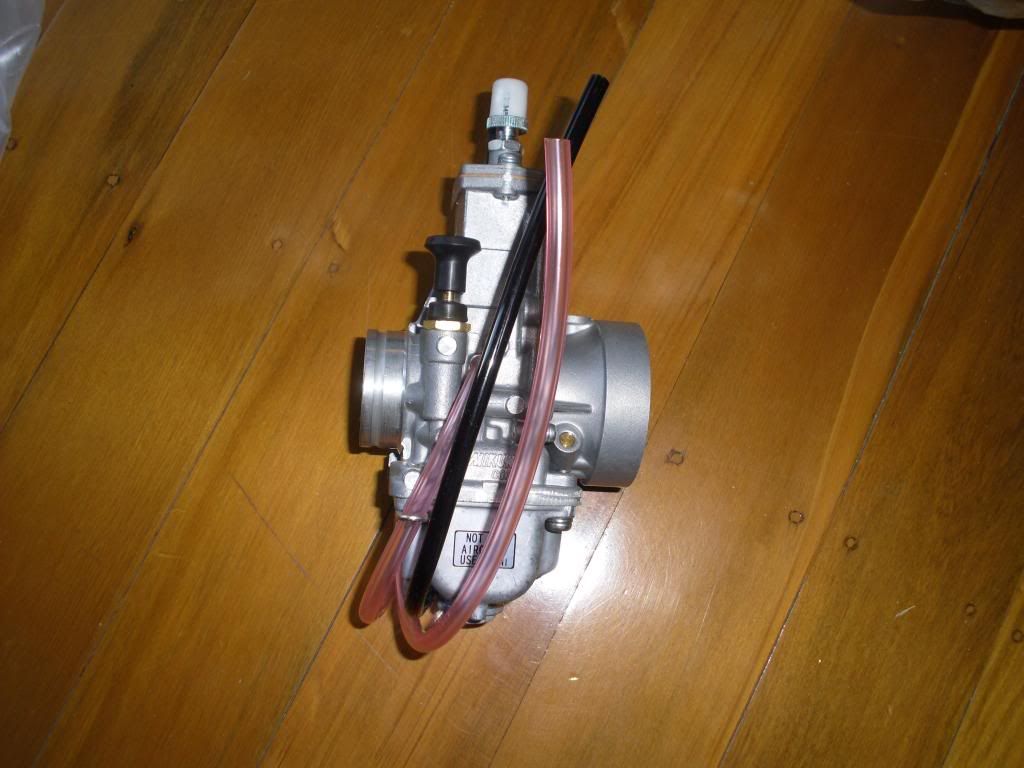
New exhaust system.

New carby.
Post by: factoryX on March 27, 2013, 11:12:50 PM
Post by: _X_ on March 28, 2013, 12:04:06 AM
Post by: Coop on April 03, 2013, 01:36:33 PM
Post by: TMKIWI on April 24, 2013, 06:12:29 AM
I was planning on painting it today so I primed it.

I grabbed my spray gun and put some thinners in it to give it a clean when all the thinners just ran out of the bottom of the bowl.

The bloody thing has a big crack in the bottom of the bowl.
Will try and buy a new bowl tommorrow.So I decided to do something else and pulled out of their box the drum brake fork set which will go on the 125.
They were already striped so set about cleaning them and fitting the new Race Tech springs and gold valves.

I drilled out and added more compression holes in the damping rod ( these don't do anything now ) , you can see in the photo behind the gold valves.
I checked the preload on the gold valve springs and adjusted to where race tech recomends.
I reinstalled everything into the fork leg and measured the preload and will make up some new spacer tubes at work. Have ordered some new seals and will have them ready this week.
Forks waiting for seals.

Still waiting on the conrod to arrive so I can start on the motor.
Post by: _X_ on April 27, 2013, 01:49:14 AM
Post by: TMKIWI on April 27, 2013, 05:55:51 AM

Post by: TMKIWI on May 11, 2013, 12:44:01 AM
Bead balsted hubs.

Will paint them black as standard. I think.

New rims.

Spokes are being sent away this week to get custom made replacments.
Have purchased a jig to respoke them. Should be fun. Never done it before.
Still waiting on conrod which I ordered 6 weeks ago. Hopefully this week.
Post by: 2T Institute on May 11, 2013, 03:51:23 AM
Here's the best jig I have seen, all made from scrap material


Post by: TMKIWI on May 11, 2013, 05:55:48 AM
I should have said an alignment tool, not jig. It was cheaper to buy then I could have made with my time.
Might have to knock one up. Jig that is.
Post by: 2T Institute on May 12, 2013, 05:37:28 AM
Post by: TMKIWI on May 24, 2013, 05:22:33 AM
I found on trademe a cheap Dr400 basket, So i did some reshearch and found that DR400's used the same plates and hub.
I took a punt and when it arrived it matched up except the drive gear was different.
So I drilled out the rivets and swaped over the backing plate.
I now have a mint basket for less then $50.

I will press in the new rivets tommorrow.
My spokes arrived yesterday and I laced them up this morning.
Painted hubs ( Satin Black ) with new bearings, Stainless spokes & new rims.
I was dreading the job but it turned out pretty easy.
Took a couple of hours to do all 4.


Trued up 2 of the rims this afternoon. Again not that hard if you have some paitence.

I need to swap out the front end on the 125 and put on the drum front end. The silver wheels are for the 125, the gold, 250.
The crank has been assembled with the new rod so might put the bottom end together tomorrow or do the front end.
All got to be done at some time.
Need to order a sproket for the 250 as well.
Post by: TMKIWI on May 25, 2013, 05:38:41 AM


08' YZ footpegs grafted onto the RM pivots.

Post by: dogger315 on June 01, 2013, 05:45:47 PM
Some nice improvising on the pegs and clutch basket.
The wheels and frame turned out great, can't wait to see
the next installment.
dogger
Post by: TMKIWI on June 01, 2013, 09:37:10 PM
Means alot coming from you.

Post by: TMKIWI on June 02, 2013, 04:16:06 AM
Pics.


Post by: SachsGS on June 02, 2013, 02:23:43 PM
Post by: TMKIWI on June 03, 2013, 07:38:27 AM
But probably about 3k.
1k on motor
1k on frame
1k on suspension.
One day I may add up all the reciepts. Maybe.
Post by: TMKIWI on June 15, 2013, 08:25:10 AM


Fitted the tyres to the rims today as well.
BTW, The new MS3 tyres have very stiff side walls.
I hate fitting tyres.
Post by: citabjockey on June 15, 2013, 02:15:37 PM
Post by: Coop on June 15, 2013, 07:45:56 PM
Post by: TMKIWI on June 27, 2013, 11:00:21 AM
I have droped the cylinder 0.5mm and am going to dispense with the head gasket and use o-rings instead.
I machined the head to give me 1mm squish but without the 1.6mm thickness of the headgasket the compression ratio was too high. So I cc'ed the head and then machined the combustion chamber to give me 50% squish and the correct compression .
Lots of measureing but all ready to go together tommorrow.
Cylinder machined with o-ring grooves to replace the head gasket.

Head machined to compensate for lack of head gasket and squish band machined to 50%
 [/UR
[/URPost by: TMKIWI on June 28, 2013, 07:22:10 AM

Post by: _X_ on June 29, 2013, 03:34:16 PM
Post by: TMKIWI on June 30, 2013, 08:49:34 AM
i cant help but associate the motor to darth vader for some reason.
I hope it's not, that evil.
Post by: TMKIWI on July 05, 2013, 05:21:05 AM
Put the radiators on and drilled the new plastics to suit. Fitted the CDI and coil ready for testing tommorrow. Fitted front wheel, guard , front board and bars.
Will fit motor in tommorrow and fit the 125 stator and see if I have spark.
Need to fit up exhaust and make some mounting plates and lots of other small things.


Post by: scotty dog on July 06, 2013, 12:02:39 AM
Post by: TMKIWI on July 06, 2013, 07:53:12 AM
Need to make lots of small brackets to hold the exhaust,side panels etc.
That thing is mint KIWI! Love ya work, when I saw the first photo's I was like "ya mad that's things f****d!" but you have done an excellent job, well done
Thanks scotty and yes at the moment I am thinking I was/am mad with the amount of bits missing.

e.g I have to make the collet for the clutch cable where it connects to the clutch arm.
Problem with starting a project in such a ****ed state.
Anyway got to this stage today and have measured up everything I need to make this week.


Post by: _X_ on July 08, 2013, 11:49:28 PM
Post by: TMKIWI on August 30, 2013, 03:43:23 AM
You can buy OEM bearings but they are too expensive so bought some rod ends and had some T6 alloy bar laying around so machined them up in the old Colchester. They look heavier but are actually the same weight.

Old

Machined up some spacers to suit new rod ends.

I have my new ignition but the CDI is faulty.
Will give them a few more days to reply before I name and shame.All I need to do is put rear suspension and swing arm in and she's ready to go.
The guy I am getting my shock off is rather slow but will wait.
New series has just been anounced and have till 6th October to be ready.
Post by: _X_ on August 30, 2013, 11:47:01 AM
Post by: Stusmoke on August 31, 2013, 09:20:07 AM
Have set the motor in place to sort out all the ancillary bits.
Need to make lots of small brackets to hold the exhaust,side panels etc.That thing is mint KIWI! Love ya work, when I saw the first photo's I was like "ya mad that's things f****d!" but you have done an excellent job, well done
Thanks scotty and yes at the moment I am thinking I was/am mad with the amount of bits missing.
e.g I have to make the collet for the clutch cable where it connects to the clutch arm.
Problem with starting a project in such a ****ed state.
Anyway got to this stage today and have measured up everything I need to make this week.
That blue frame is to die for.
Post by: TMKIWI on September 20, 2013, 06:35:25 AM
Got the rear end in today.
I have put in my rebuilt OE shock at the moment as the guy who was getting me a Fox shock has ****ed me around too much so I will spend my money elsewhere. Possibly a Works Performance shock from USA.
Drilled and fitted the plastics and mud flaps. Fitted up the airbox properly and installed a new filter.
Will sand the fuel tank back tommorrow as it is a bit rough looking. Need to make some spacers for the rear wheel to align properly with CS. I need to re-route the clutch and throttle cables as they are not right at the moment. No pictures available so a bit of trial and error.
If my new stator turns up in time will test ride next weekend.
Some pics.


